SCIM - System for Cross Domain Identity Management
Create Enterprise Application in Azure
- Go to Azure Portal → Azure Active Directory → Enterprise Applications.
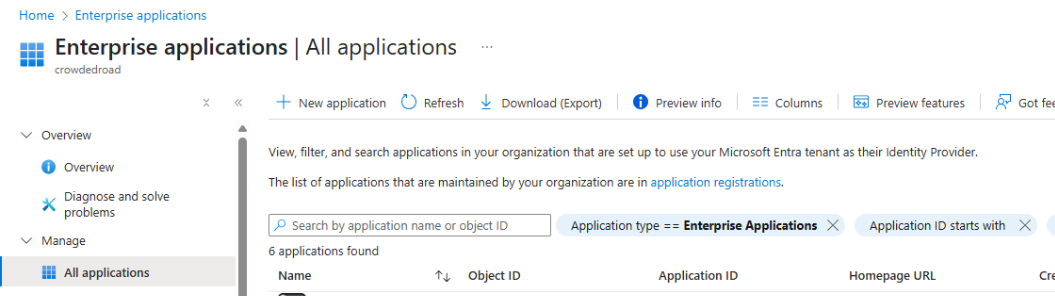
- Click + New Application.
- Select Create your own application
- Enter a name (e.g., “Your App SCIM Provisioning”) and choose Integrate any other application you don’t find in the gallery
- Click Create
Configure SCIM Provisioning
You can setup provisioning for the app to following steps:
- Open the created enterprise application
- Go to Provisioning → Click Get started
- Set Provisioning Mode to Automatic
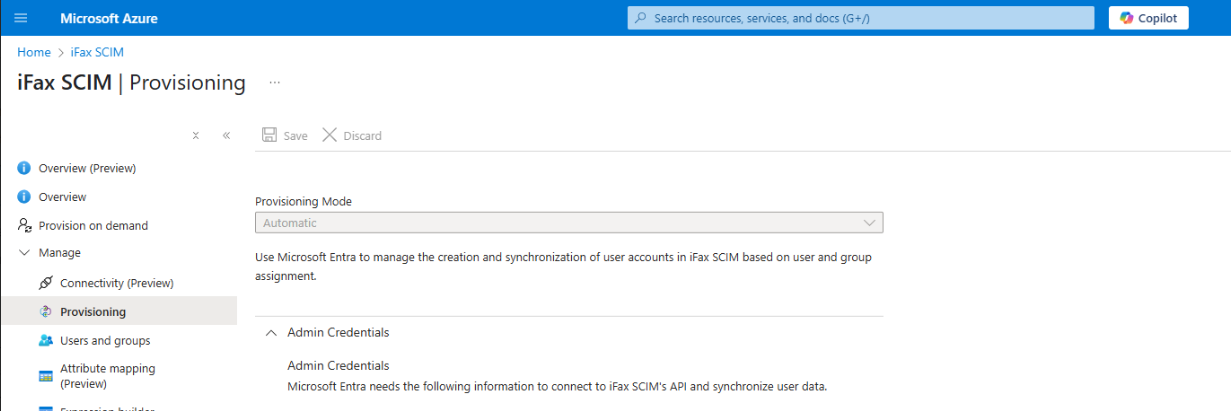
- Enter the following:
Tenant URL: https://www.ifaxapp.com/live/azure/scim
Secret Token: iFax credentials{{email:password}}
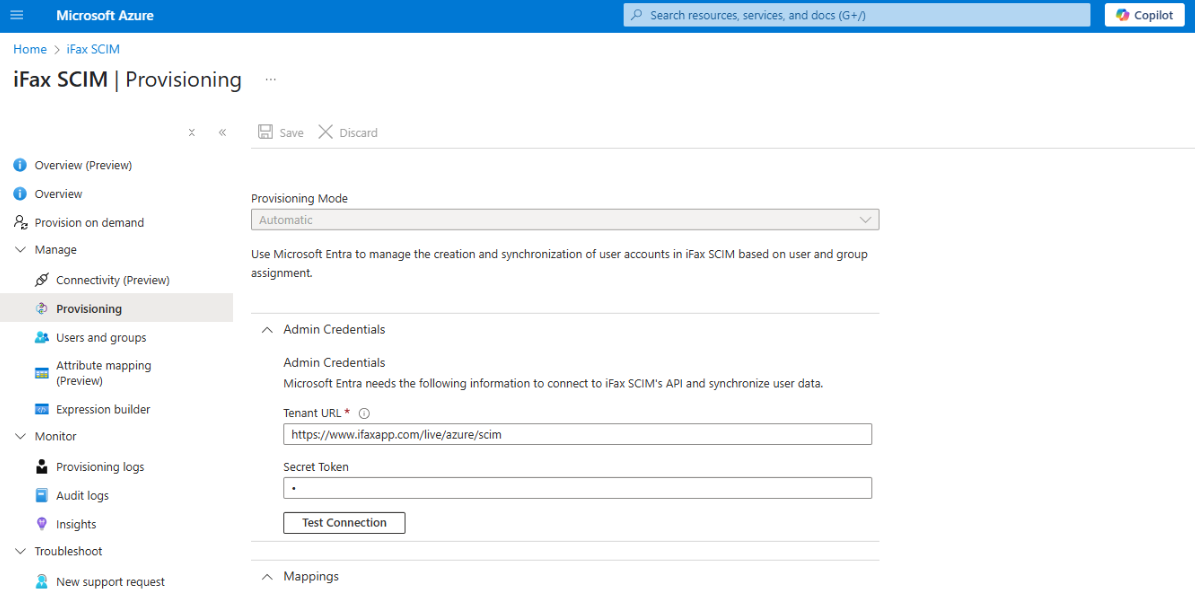
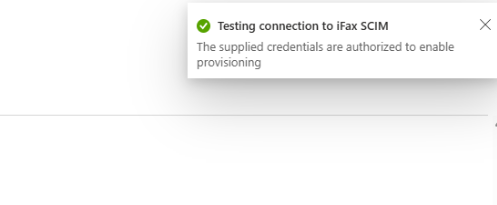
- Click Test Connection — it should return “Connection successful”
- Select scope : Sync only assigned users and groups
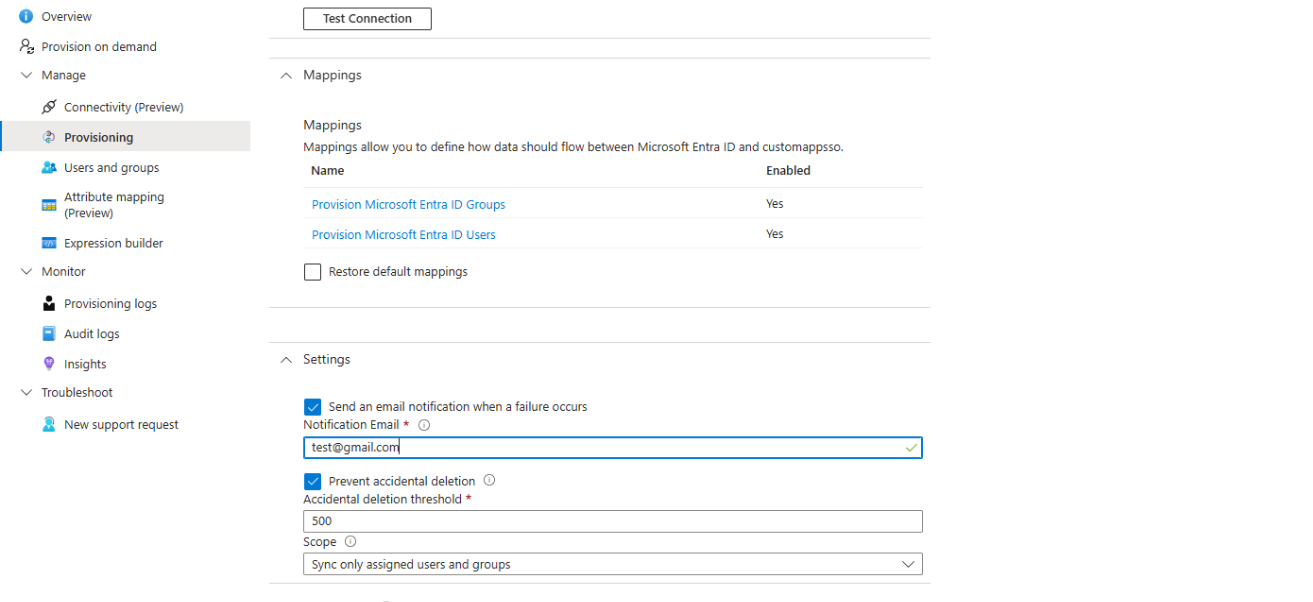
- Click Save
Assign Users
To add user, follow these steps:
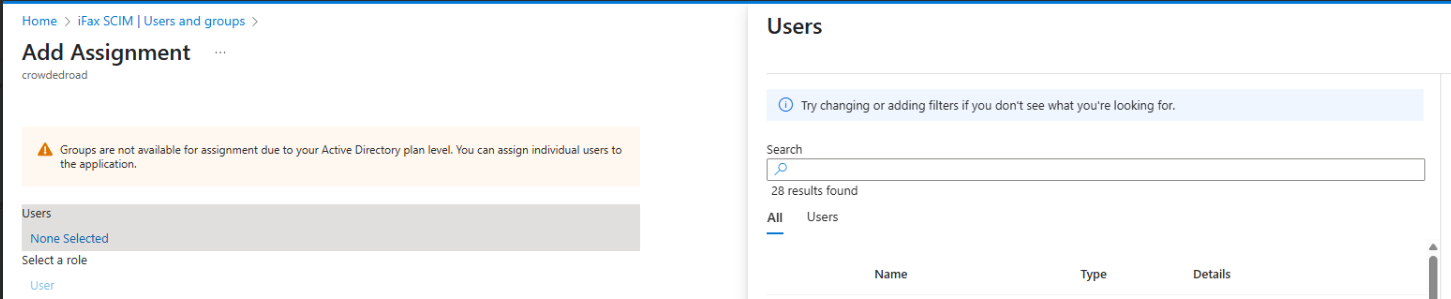
- Go to Users in the app
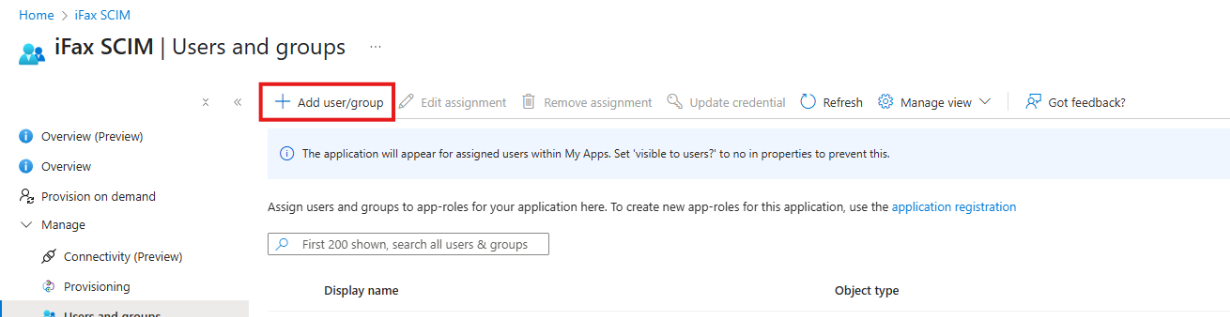
- Click + Add user
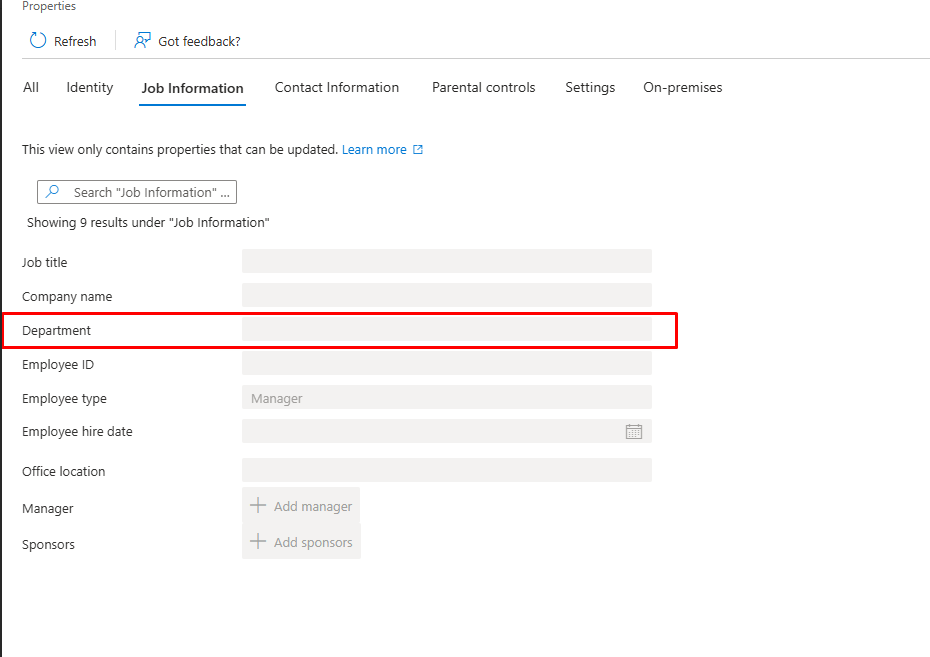
- Add Department for the user to manage users with the role in iFax. (Ensure that a role with the same name is added in iFax.)
- Select users to provision to [Your App Name]
- Click Assign
Enable and Monitor Provisioning
- Go to Provisioning → Set Provisioning Status to On

- Click Save
- Azure will begin syncing users every ~40 minutes