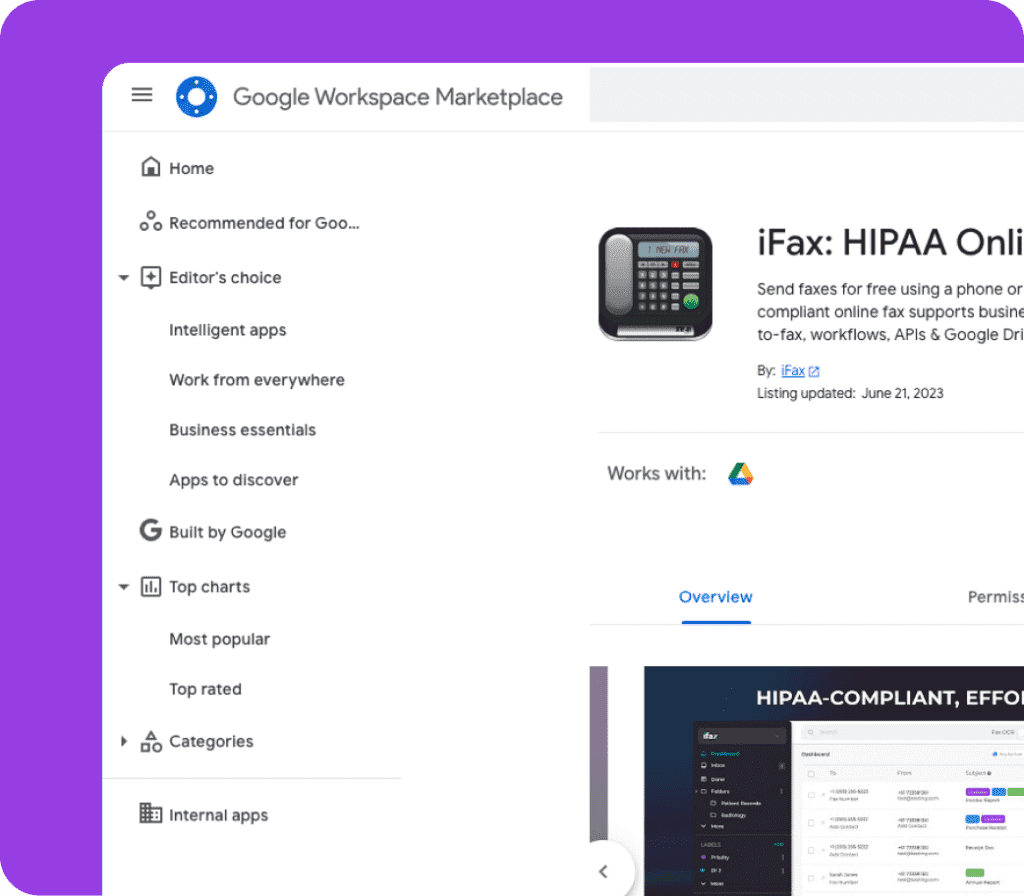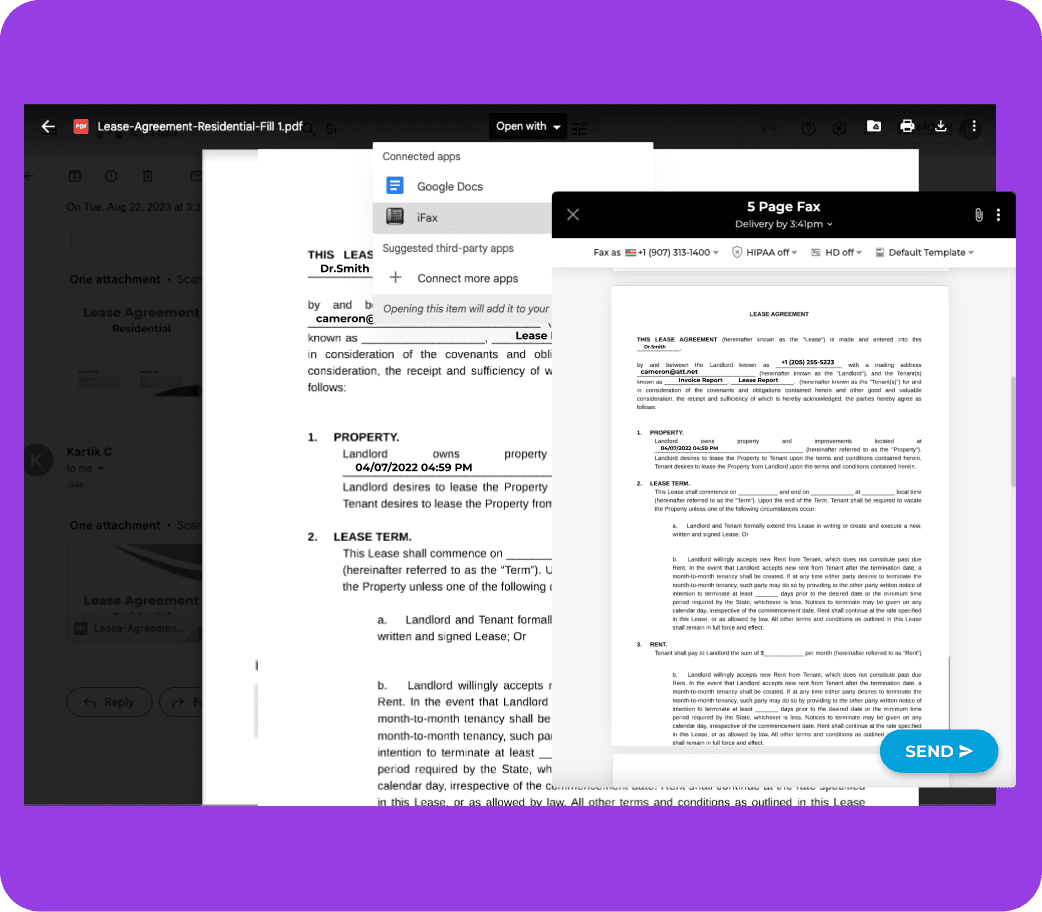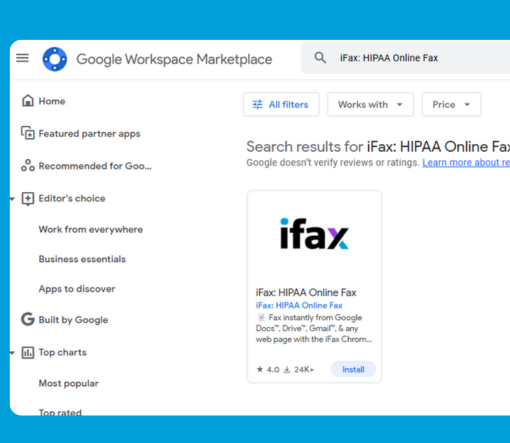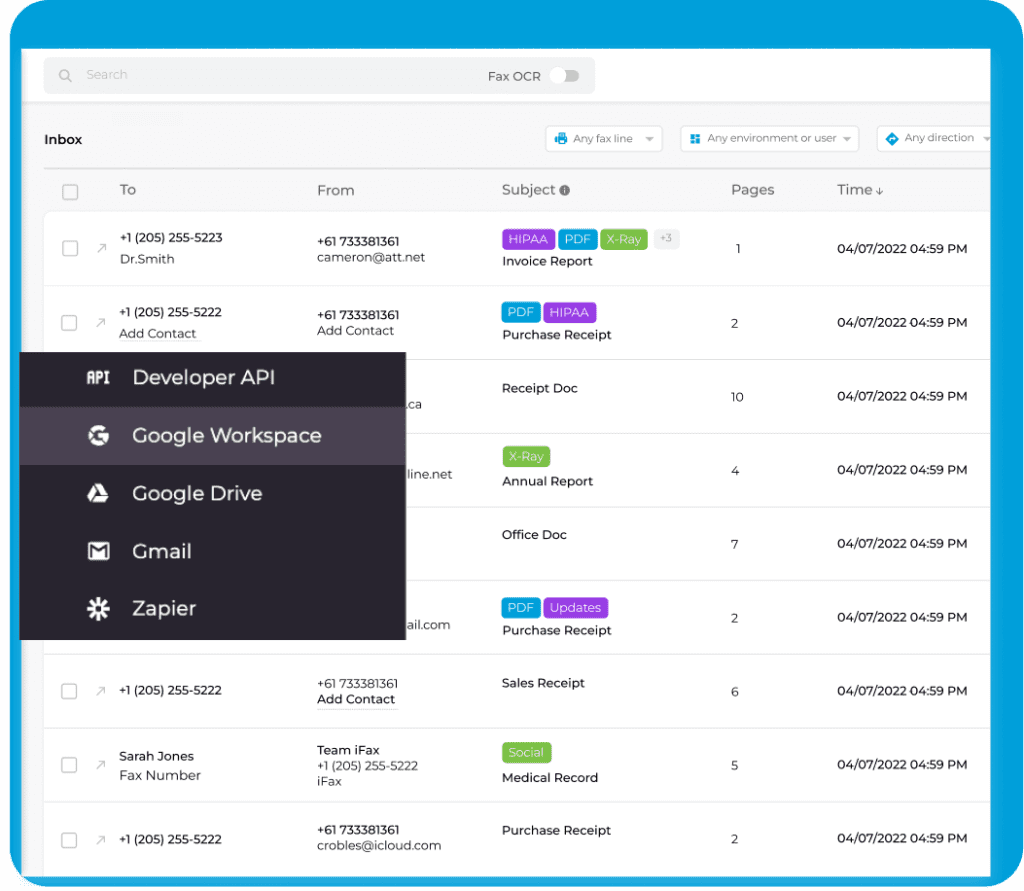
Send faxes straight from Gmail™ and Google Drive™ using iFax for Google Workspace. No downloads, printing, or file conversions are needed. Just click and fax instantly from your browser. It is the fastest and most convenient way to send secure, cloud-based faxes without leaving your favorite Google apps.
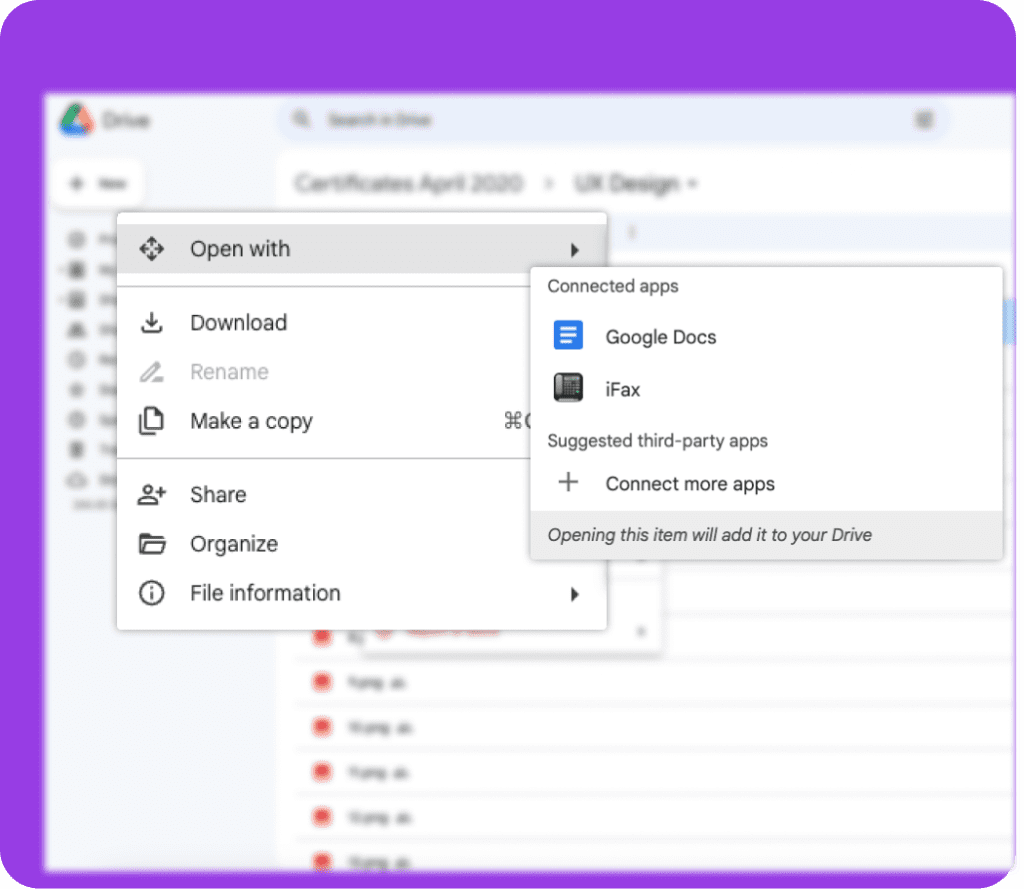
Whether you’re working on a contract in Google Docs™ or managing files in Google Drive™, iFax integrates seamlessly into your workflow. With just a few clicks, you can fax documents, attachments, and scanned files directly, saving time and simplifying your day-to-day tasks.