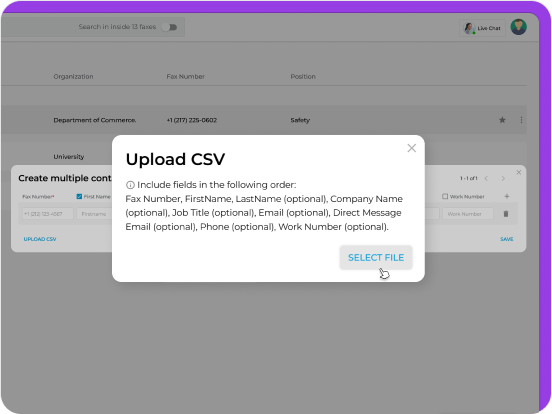
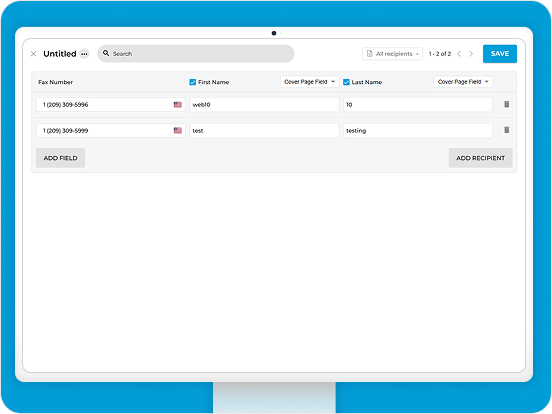
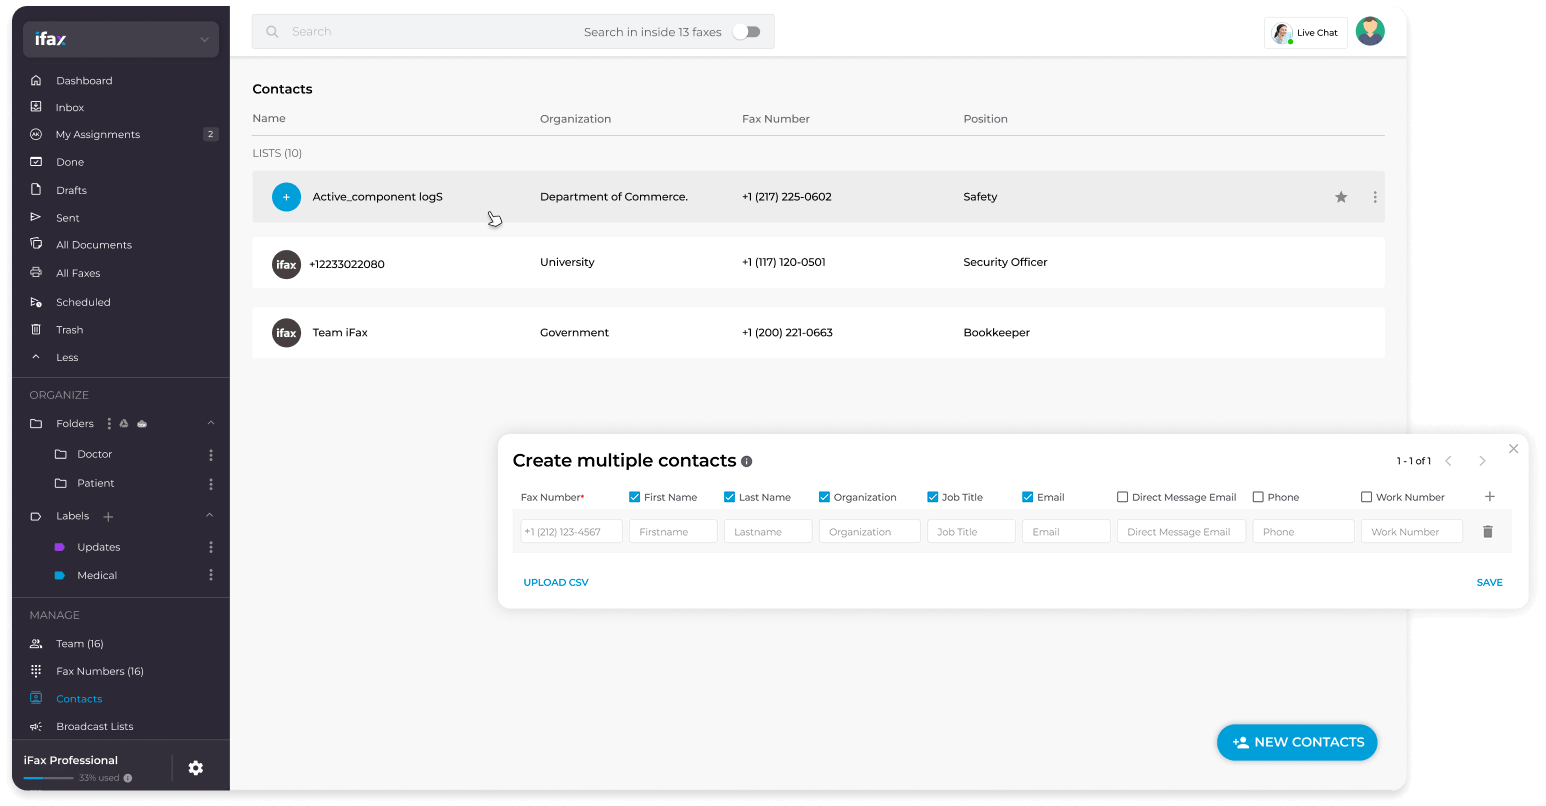
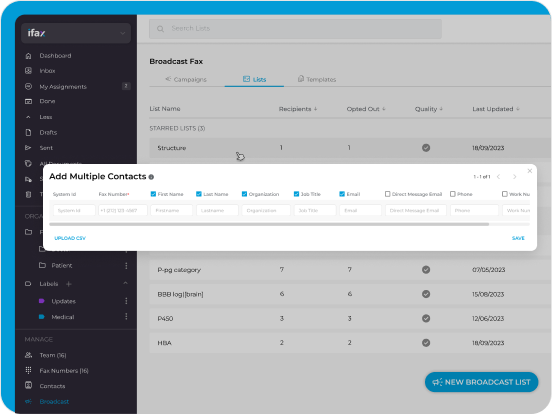
Contacts Upload

Upload your fax contacts in bulk.

Effortlessly upload a CSV file with detailed user profiles

Manage broadcast lists without wasting any time

Run targeted broadcast campaigns at the push of a button

Update and reuse broadcast lists instead of starting over

Contacts Upload

UPLOAD CONTACTS TO YOUR FAX ACCOUNT

Take your contact management to the next level

Contacts Upload

Unlock seamless
communication with
contacts upload

Why go through the hassle of manually creating lists when you can simultaneously upload hundreds or thousands of external contacts? Not only does this save time, but it also maximizes revenue. Now, you can send personalized fax blasts with minimal effort.

All you need is a secure and reliable online faxing platform that can smoothly adapt to your constantly evolving fax marketing strategy. With the help of iFax, you can upload contacts and send fax broadcasts quickly and cost-effectively.

How to bulk upload contacts for fax broadcasts

With iFax, you can add contacts manually or import them in bulk. Let’s say you have a long list of campaign subscribers. To add them to your broadcast list in one go, you need to follow these steps:

  1. Log in to your iFax web account.
  2. On your dashboard, go to Tools > Broadcast Fax.
  3. On the lower right of the screen, click New Broadcast List, then select Upload CSV.
  4. Click Choose File and select the CSV file you want to upload from your local folder. Select Import.
  5. Label your new broadcast list. Review the data you uploaded. Our import tool will automatically check if the fax numbers listed are valid.
  6. If there are any invalid numbers, you must update them manually before you can click Save.

Adding custom contact fields to imported CSV lists

  1. Go to Tools > Broadcast Fax.
  2. Click New Broadcast List.
  3. Click Upload CSV.
  4. Download the same template provided (see the image above). By default, the template will be downloaded as an XLS file.
  5. Open the XLS file using MS Excel or any software that supports the said file type.
  6. Edit the sheet as necessary. Add custom fields next to the pre-labeled columns.
  7. Save your changes, then go back to your iFax web dashboard.
  8. From the same Upload CSV dialog, click Choose File.
  9. Upload the updated spreadsheet, then click Import.
  10. Preview the imported file. From there, you will see whether the custom fields have been successfully added. You can also modify the details as needed.
  11. Click Save.
Contacts Upload: Broadcast List Management Made Easy
Import names, fax numbers, and emails into your broadcast lists with ease and confidence.
Arrow-up