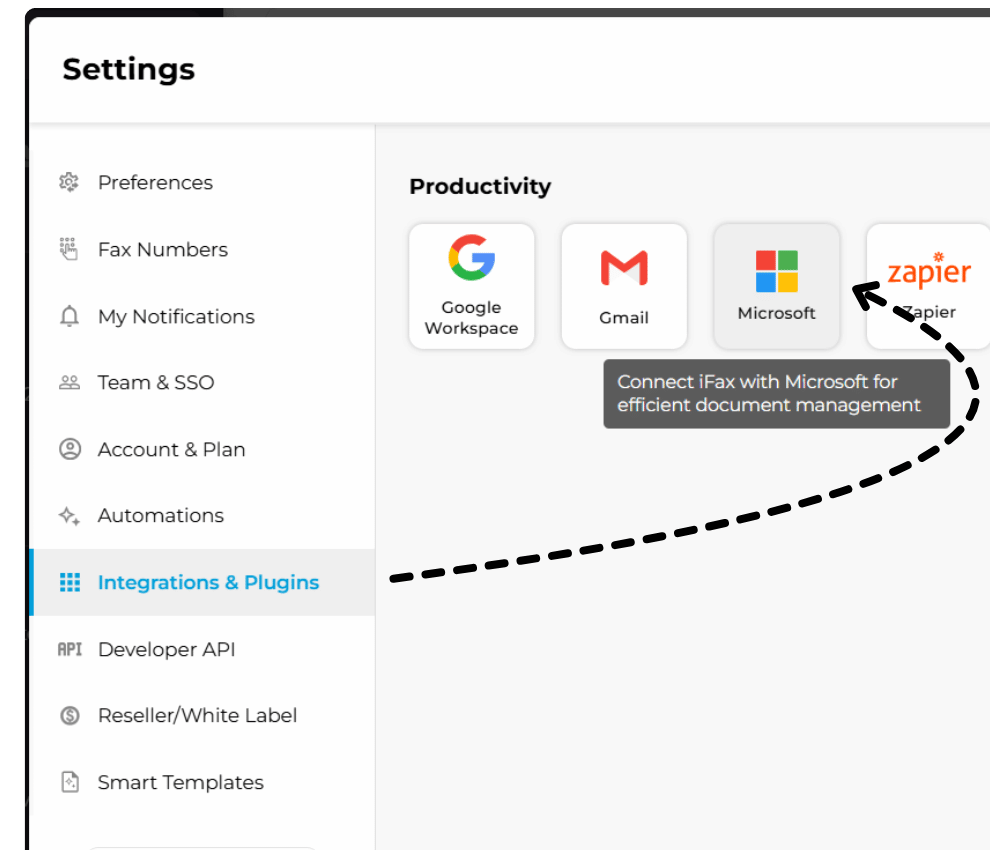
Save hours switching between apps by integrating iFax into your Office 365 account and fax from Outlook, Word, PowerPoint, Excel, and any Windows app.
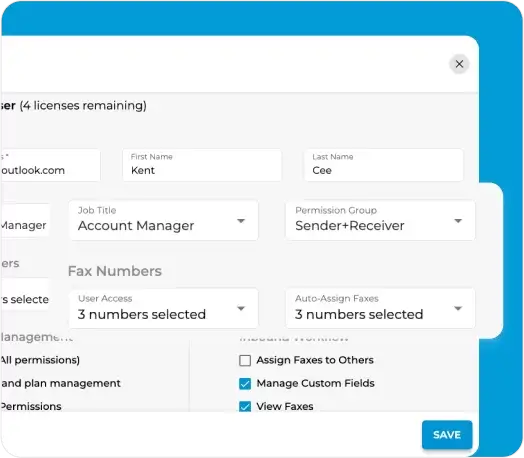
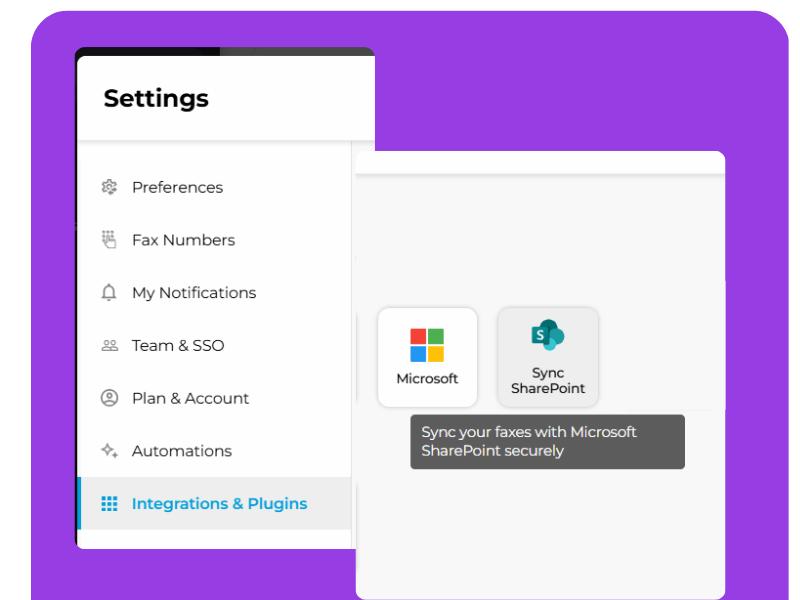
iFax seamlessly integrates with your organization’s accounts, eliminating the need for cumbersome fax infrastructure and providing you with a trusted Microsoft fax service for you and your team.
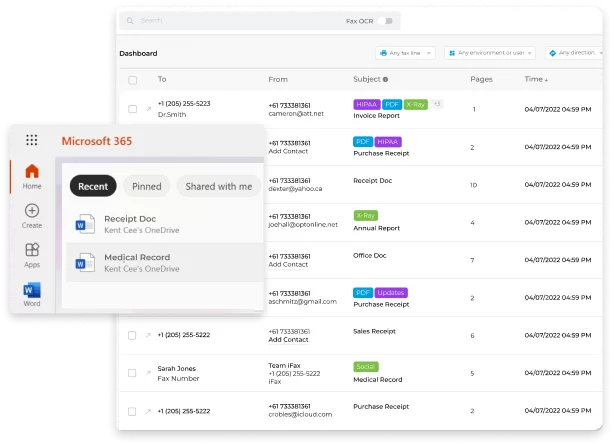
Once synced, you can fax from Outlook with email to fax and any Windows app with our print to fax feature.
Our intuitive interface allows you to access and share documents from one familiar location.