
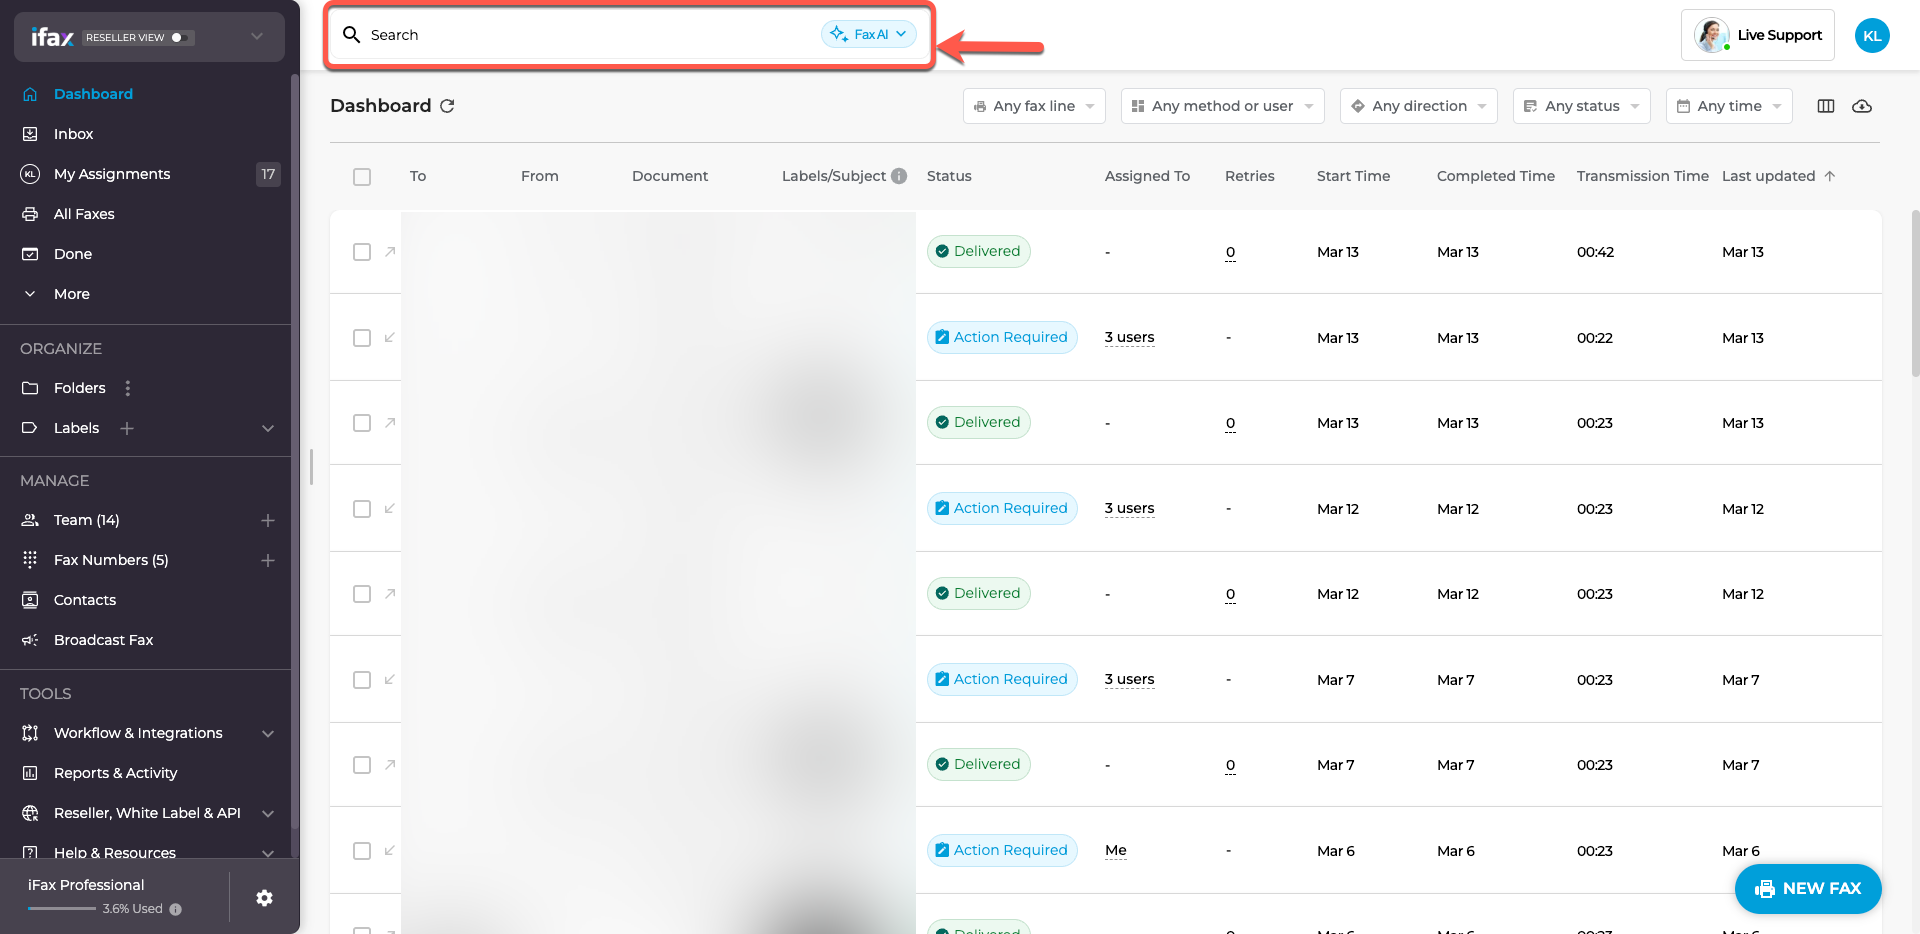
Finding a Fax
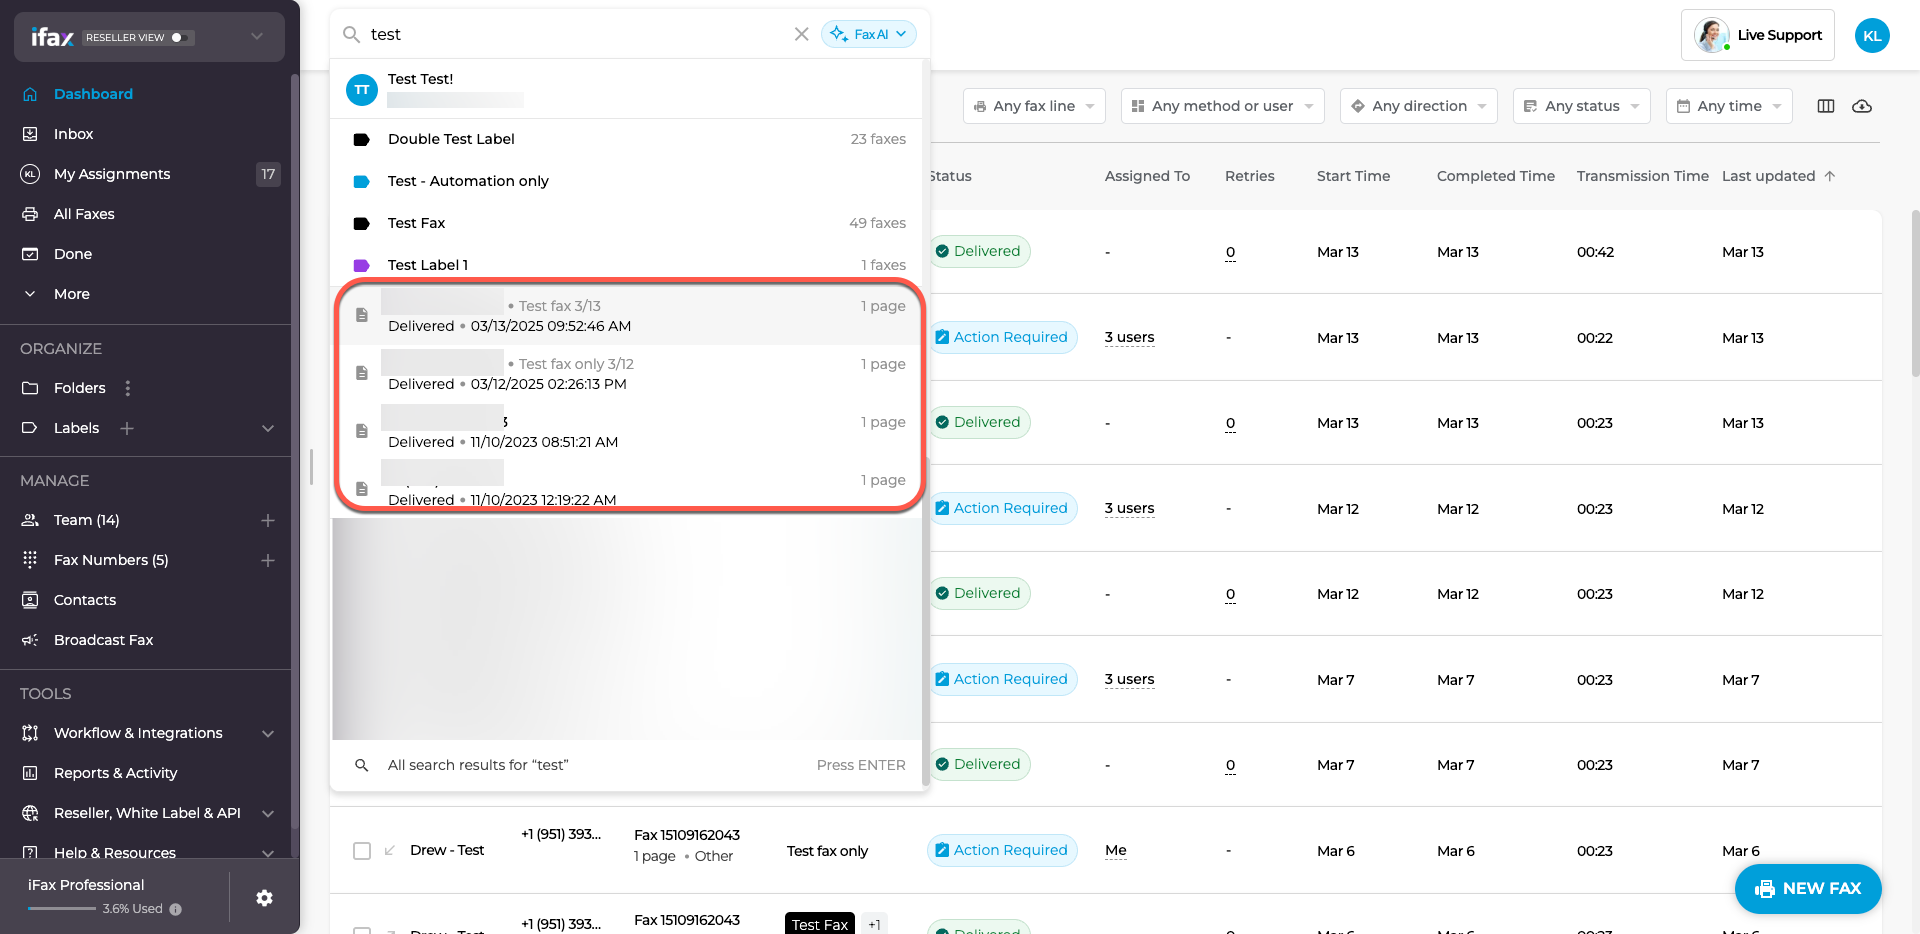
- Need to find a fax? Just type the sender’s or recipient’s name or fax number into the search bar. As you type, suggestions will appear to help you find what you’re looking for.
- Once you see the fax you need, click on it to open it. Since the search covers everything, it will also show contacts, labels, and folders. Look for the document icon to spot faxes easily.
Filtering Faxes
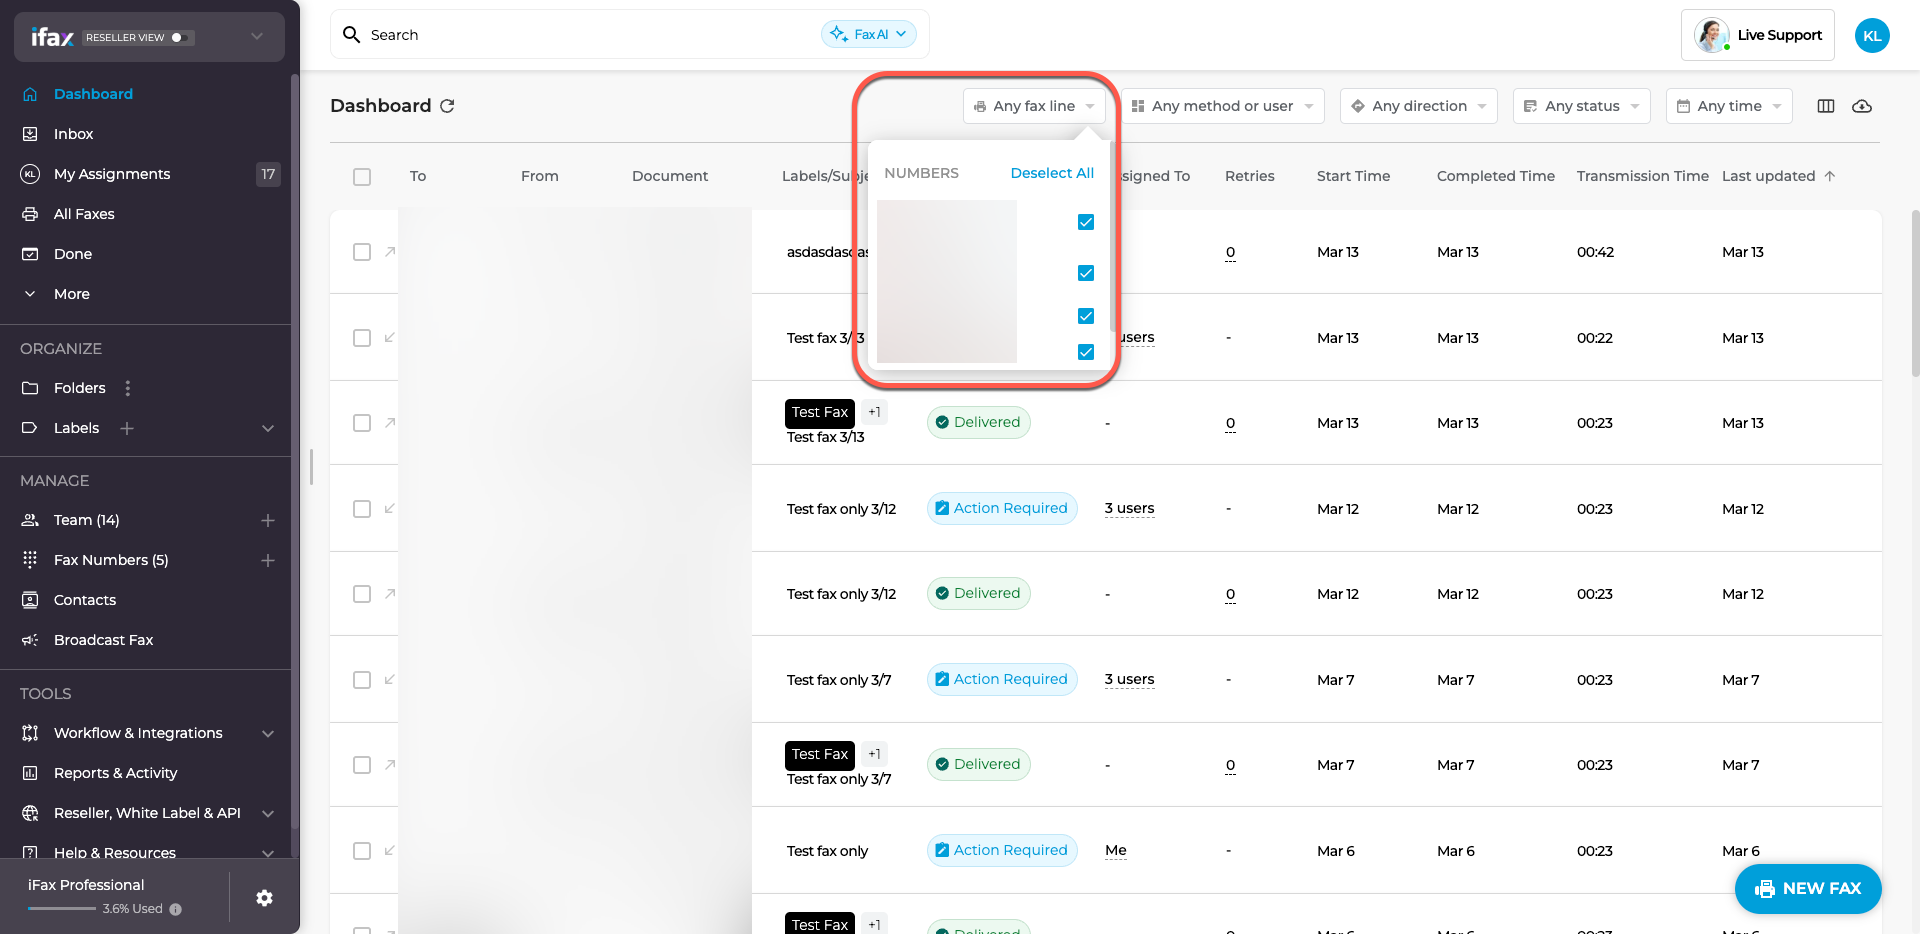
You can filter faxes to find exactly what you need. The filter options are in the top-right corner of the dashboard.

You can filter by:
- Fax Line – View faxes from specific fax numbers.
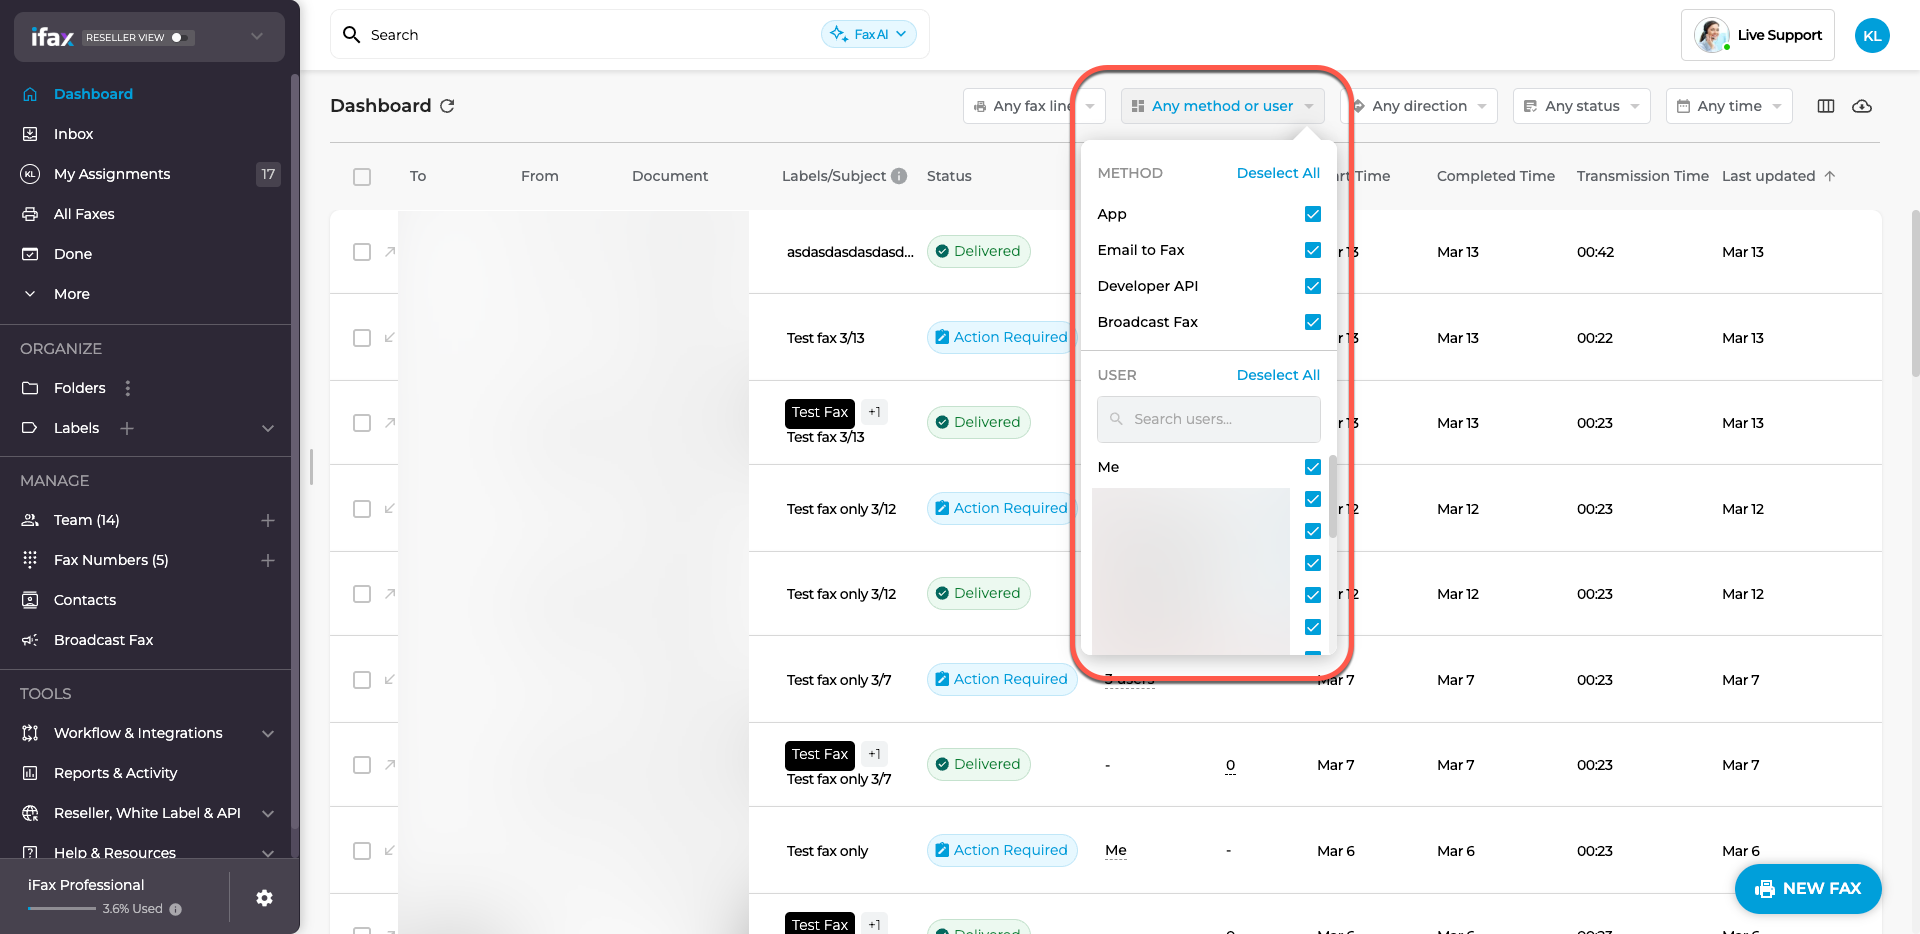
- Method or User – Choose how the fax was sent or received:
- App: Faxes sent or received through the iFax app.
- Email to Fax: Faxes sent by email.
- API: Faxes sent using a developer tool.
- Broadcast Fax: Faxes sent to multiple recipients at once.
- User: Filter by sender or recipient
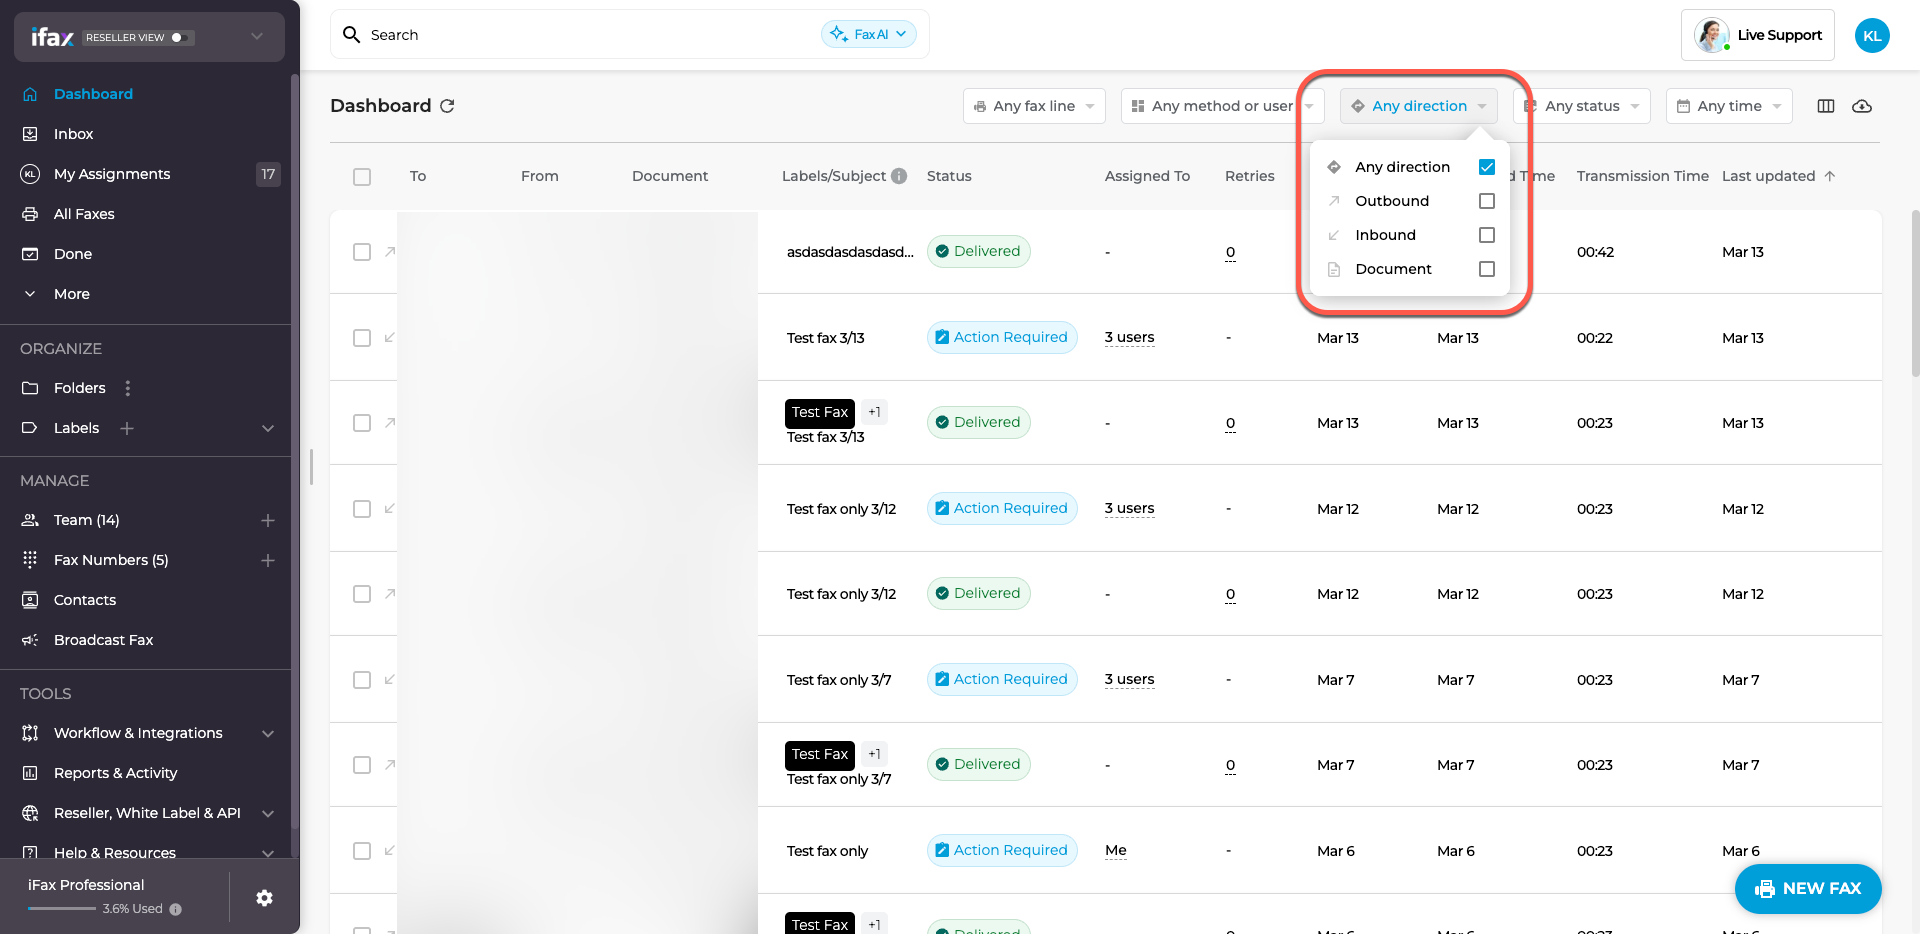
- Direction – See incoming or outgoing faxes.
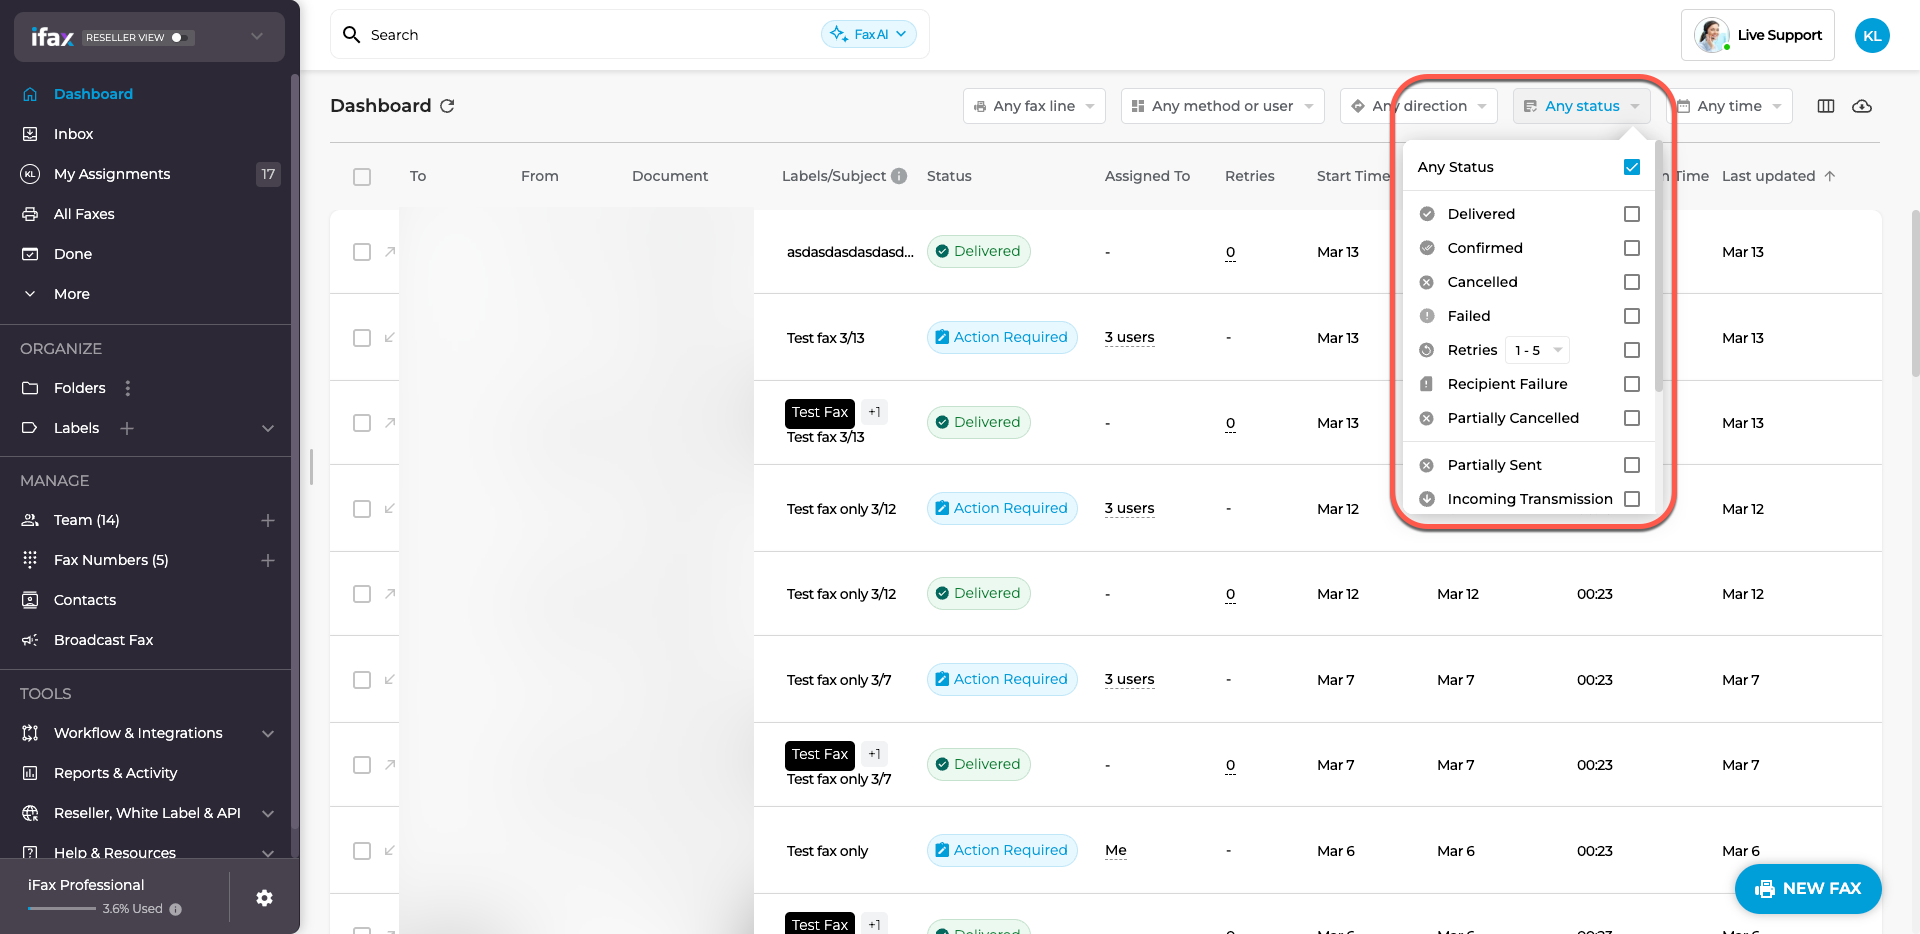
- Status – Check if the fax was sent, delivered, or still in progress.
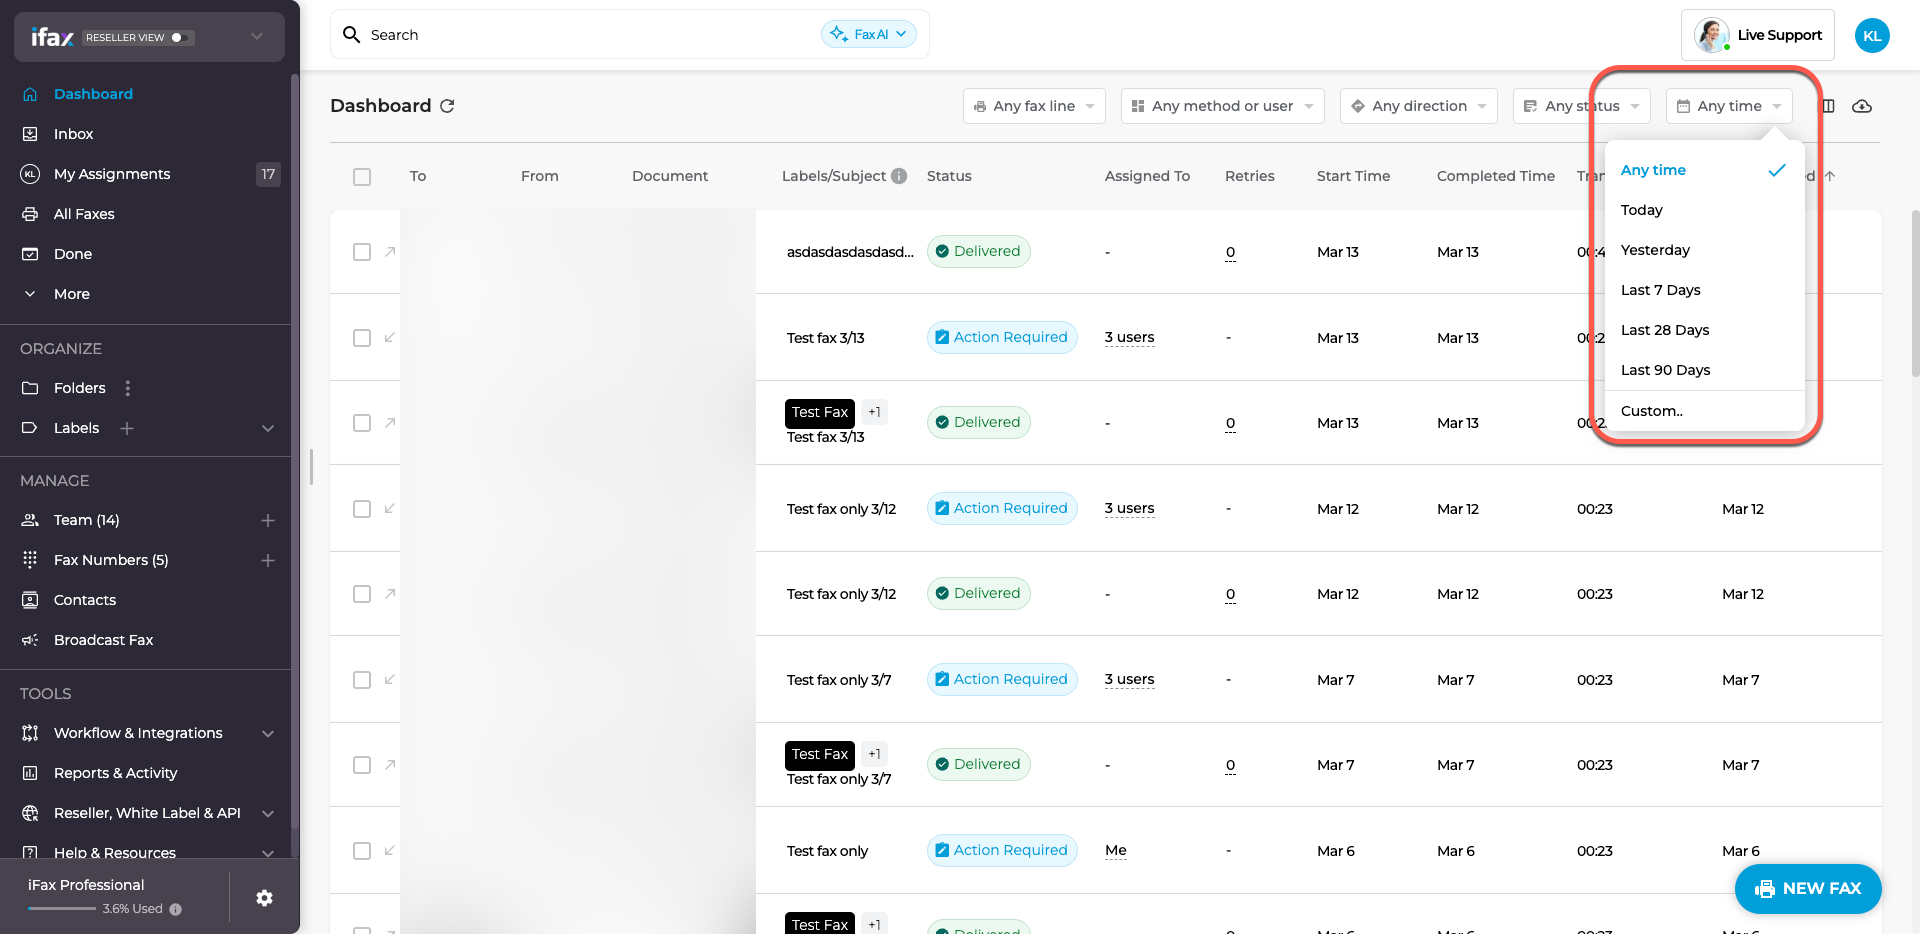
- Time Frame – Choose a date range to find faxes from a specific period. Select ‘Custom’ to pick exact dates.
Customizing Your Dashboard
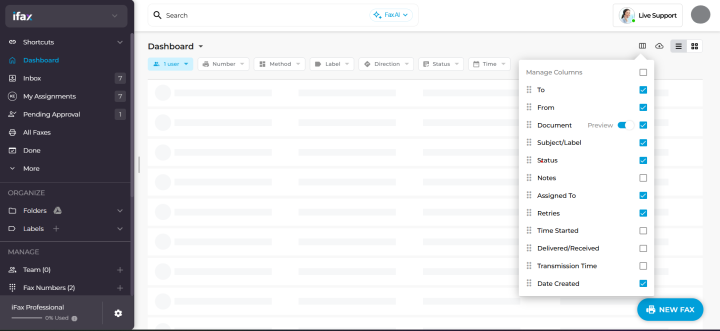
Want to change what columns appear in your dashboard?
Click “Manage Columns” (the table icon) near the cloud icon for downloading fax records. Then, check or uncheck boxes to show or hide columns. From the list, enable document thumbnails by switching on the toggle next to “Preview”. Hovering over a thumbnail displays a high-resolution preview.
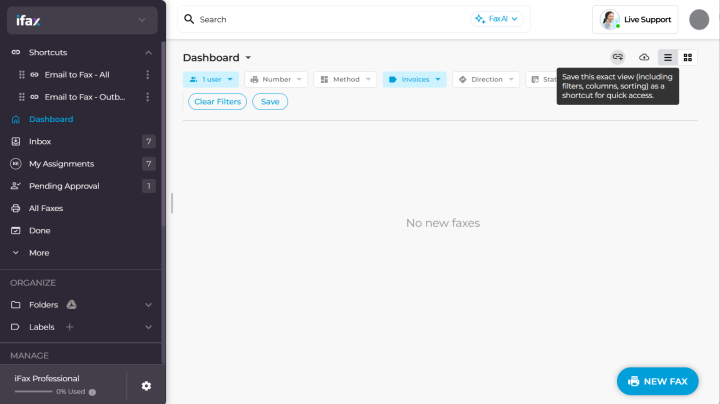
Shortcuts for Custom Dashboard Views
Access custom dashboard views with one-click shortcuts right from your dashboard menu.
- Go to your fax dashboard or any navigation tab.
- Set your preferred view options and layout by sorting tabs, columns, and filters.
- Save the exact view as a shortcut by clicking the link icon with a small plus sign. It’ll appear right next to the ‘Download all faxes (documents)’ icon, immediately after you’ve sorted tabs, columns, filters, and view options.
- Enter your desired shortcut name and click Save.
Saved shortcuts will appear in the top section of your dashboard panel, with the top saved shortcut becoming the default dashboard view every time you log into iFax Web.
Downloading Your Faxes
To save a copy of your sent and received faxes:
- Click the cloud icon in the top-right corner.
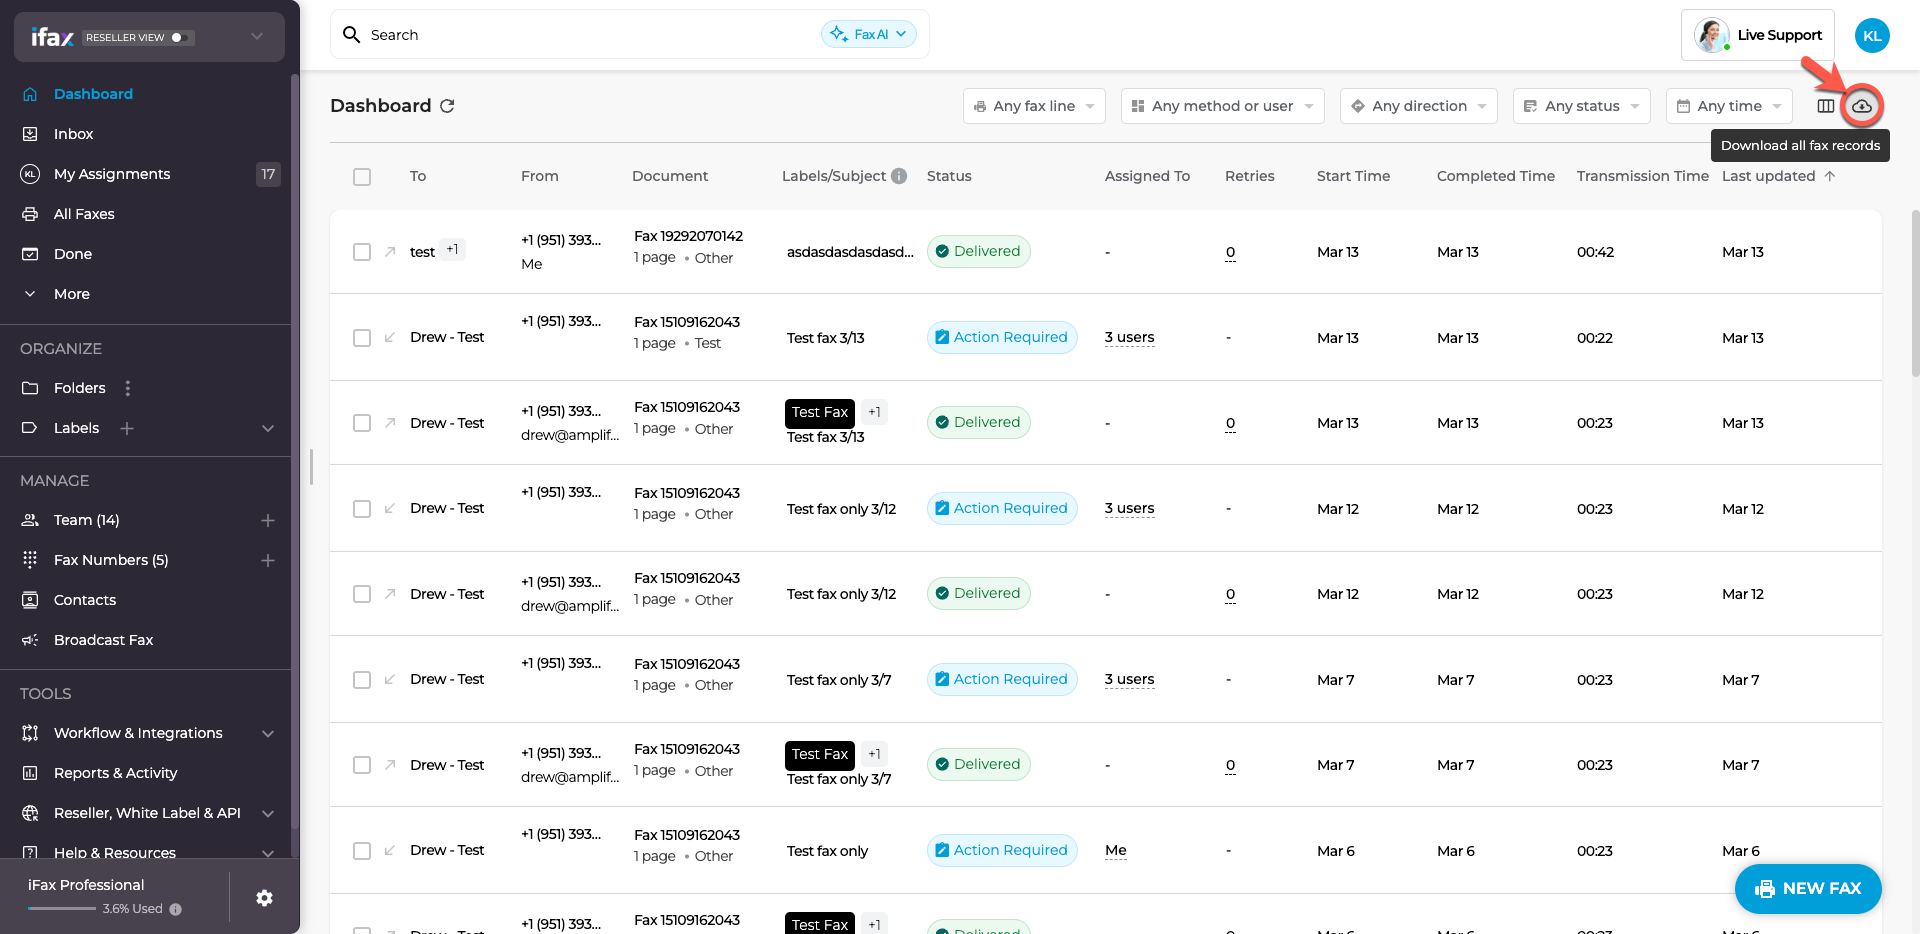
- Your selected filters and columns will be included in the downloaded file.
- Open the file in Excel or Google Sheets.
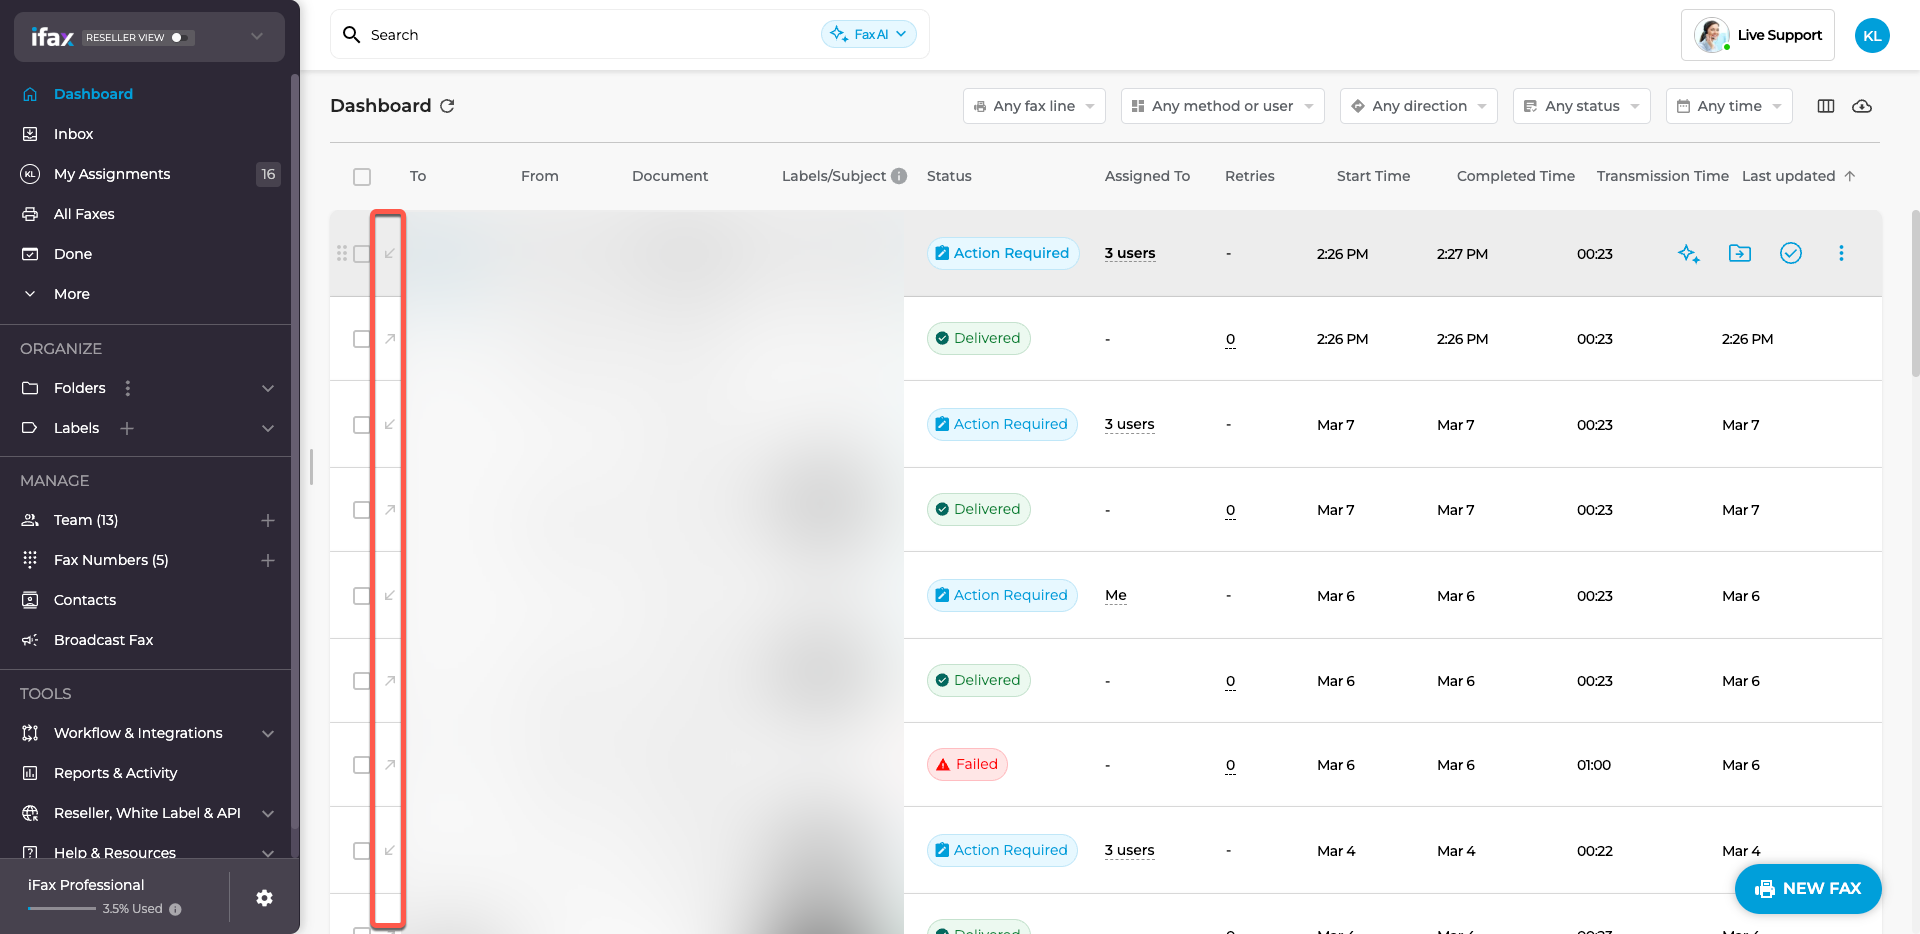
Fax Status Indicators
- Inbound faxes (received) have a downward arrow (↙).
- Outbound faxes (sent) have an upward arrow (↗).
Quick View of Faxes
Click on a fax row to see a quick preview without opening it fully.
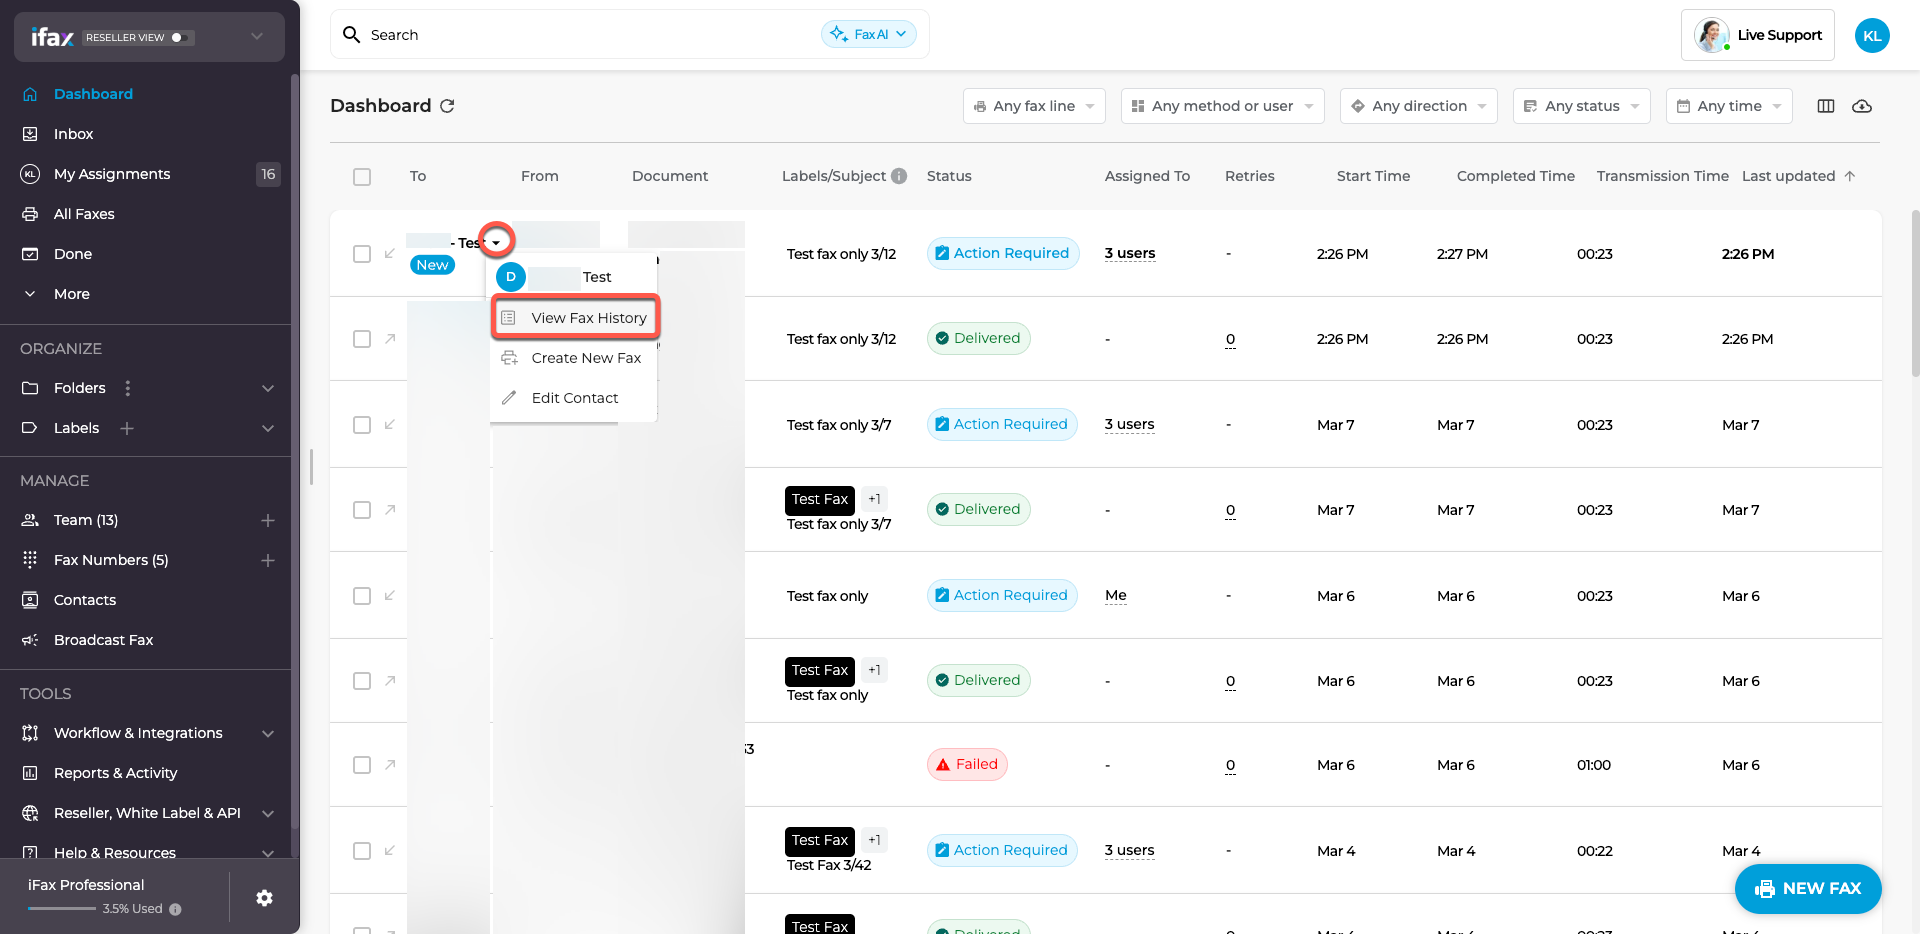
Viewing All Faxes from a Contact
Want to see all faxes from a particular contact?
Click on the contact’s name and select View Fax. This will show all faxes linked to that contact.
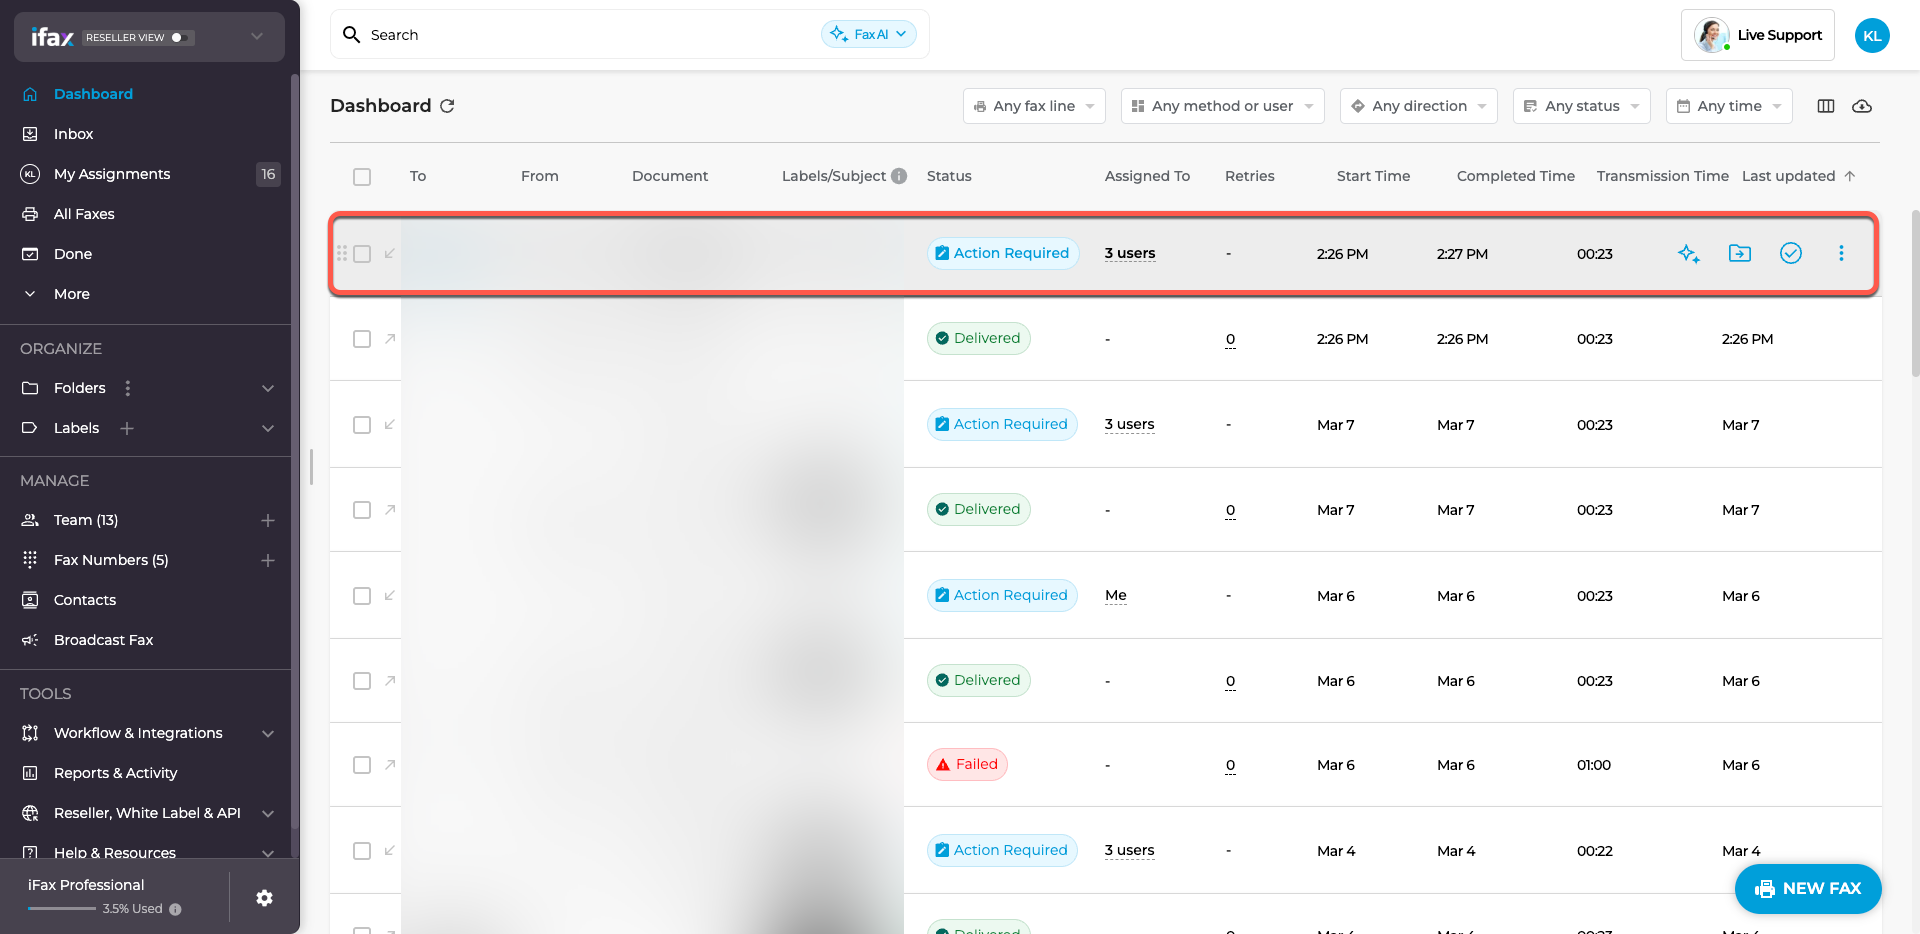
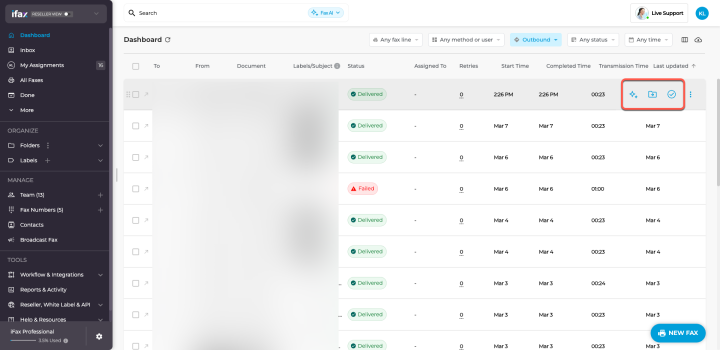
Quick Actions
When you hover over a fax, you’ll see three quick options:
- Summarize with AI – Get a brief summary of the fax.
- Move to Folder – Organize faxes into folders.
- Mark as Done – Mark the fax as completed.
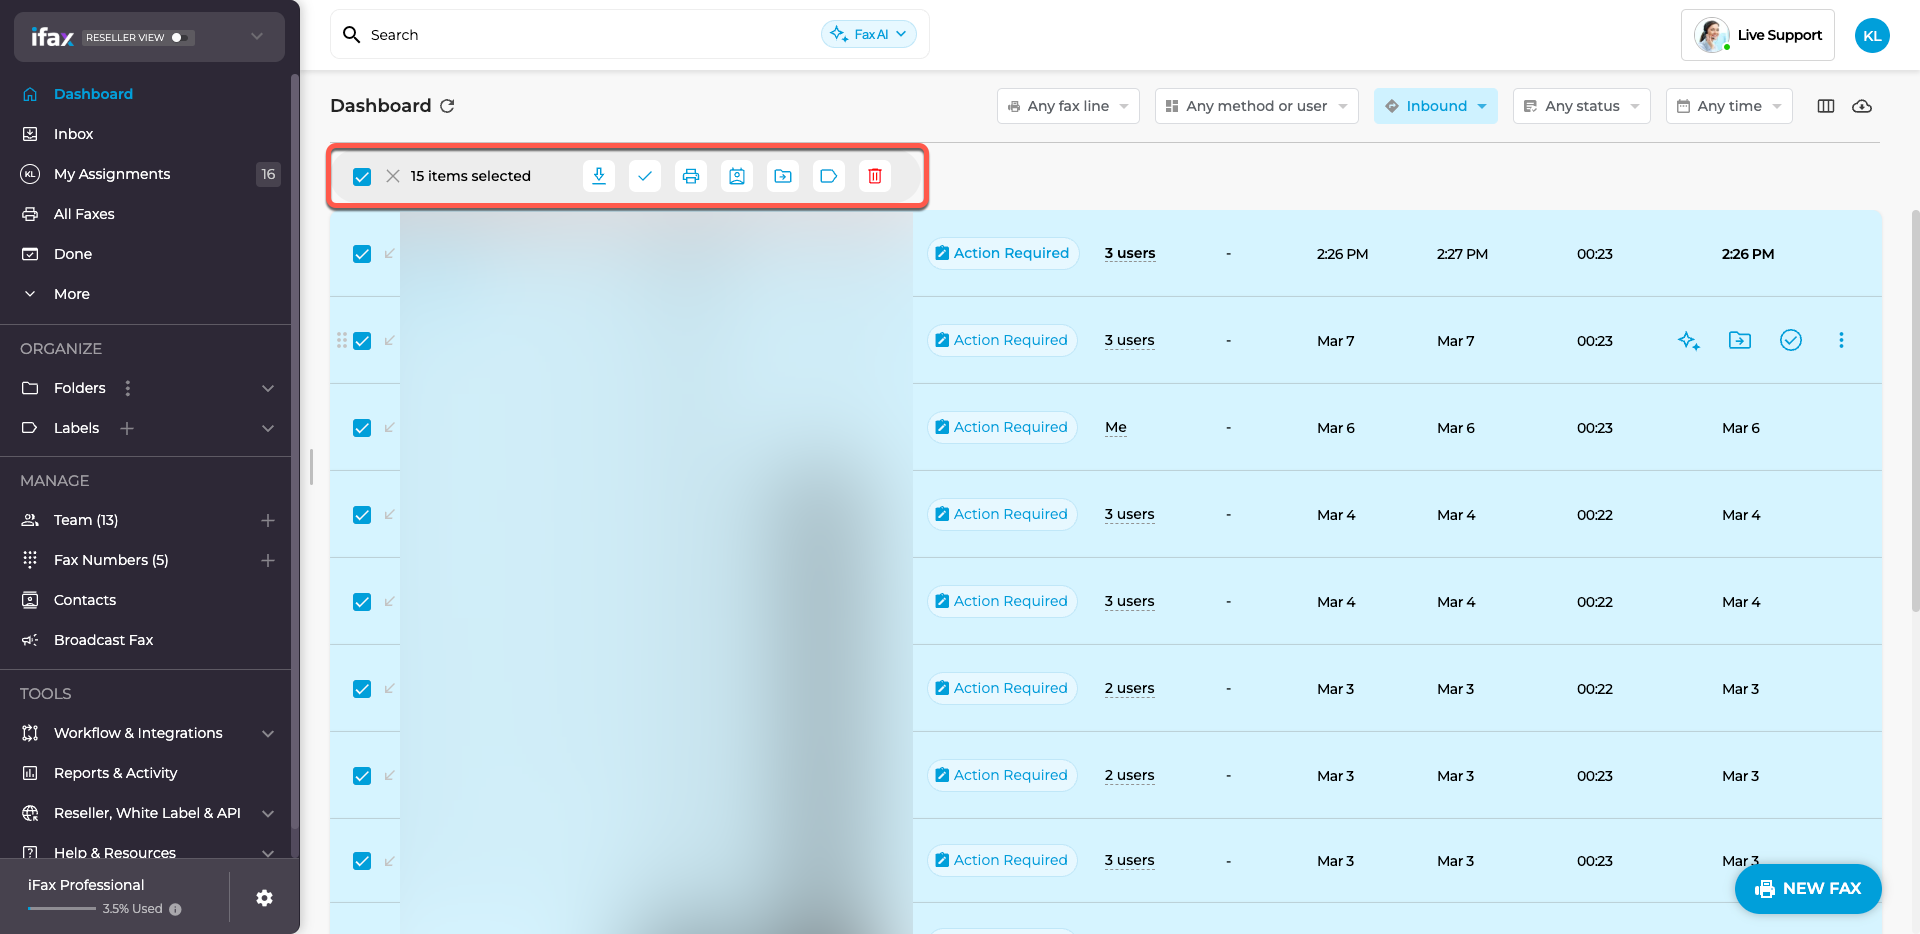
Bulk Actions (For Multiple Faxes)
Select multiple faxes to apply actions in bulk:
- Download as ZIP – Save multiple faxes at once.
- Mark as Done – Mark all selected faxes as completed.
- Print – Print multiple faxes.
- Assign Faxes – Assign several faxes to a team member.
- Move to Folder – Organize multiple faxes at once.
- Add Label(s) – Categorize your faxes.
- Delete – Remove faxes you no longer need.
If you have any questions or need further assistance, please feel free to reach out. We’re here to help! Thanks for choosing iFax. ❤️