
Assigning group permissions to a new user
- Go to the iFax web dashboard and log in to your Professional account.
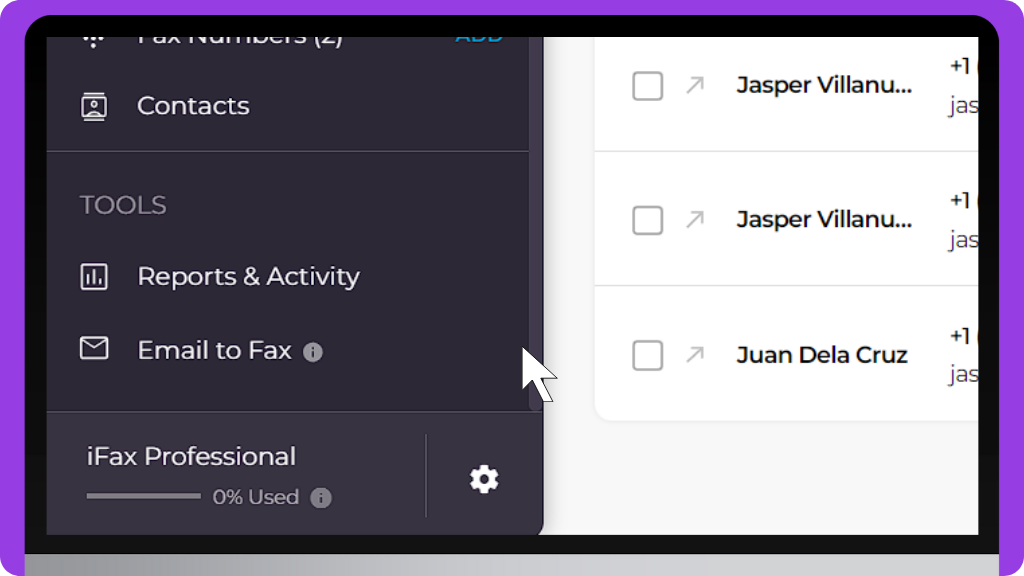
- On the left panel, you will see the Settings icon on the bottom left of the dashboard. Click on it to open the Settings window.
3. Click the Team and SSO tab.
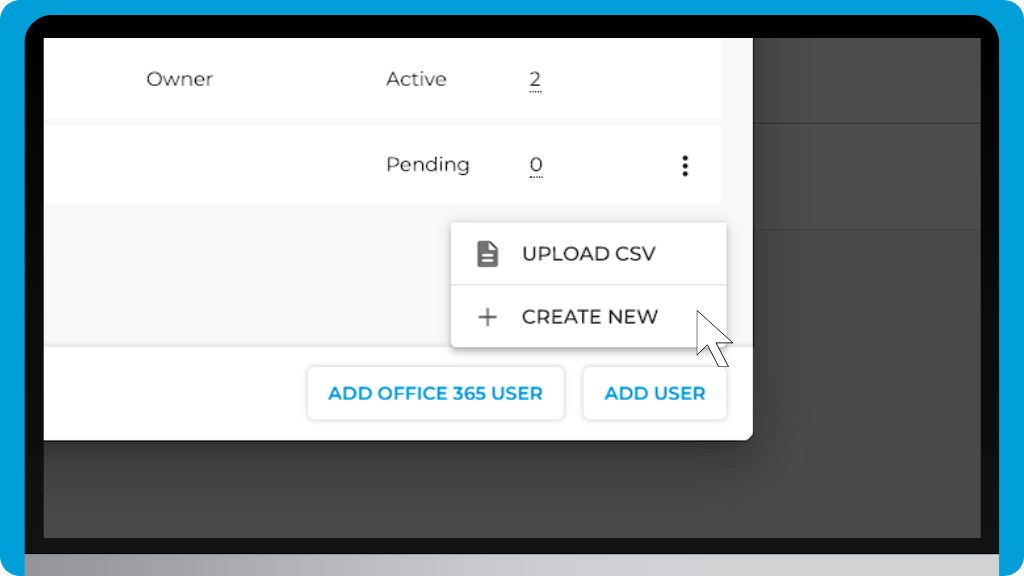
4. To add a user, click on Create New and fill out the fields with the required information (first and last name, email address, and job title).
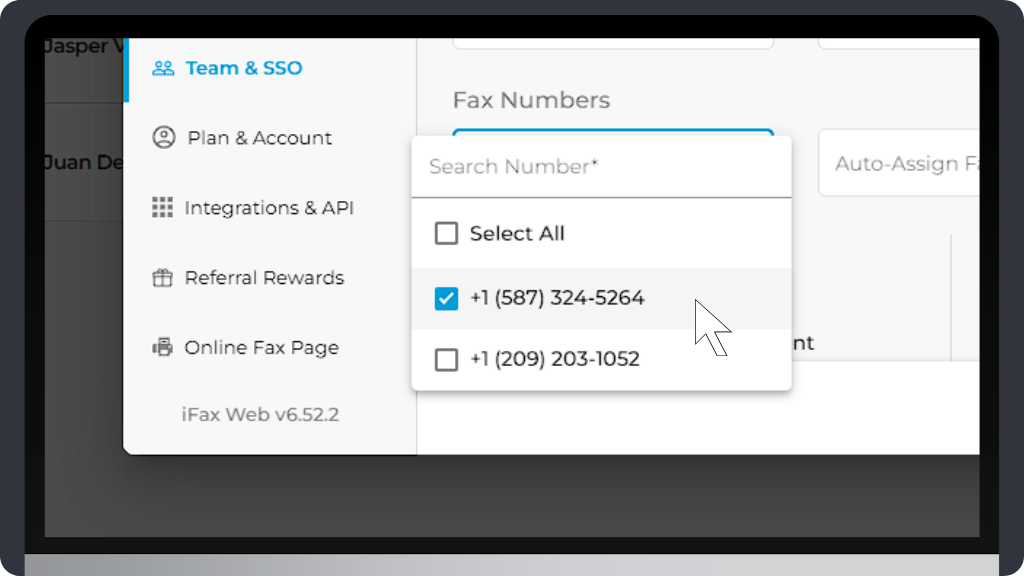
5. Select an assigned fax number
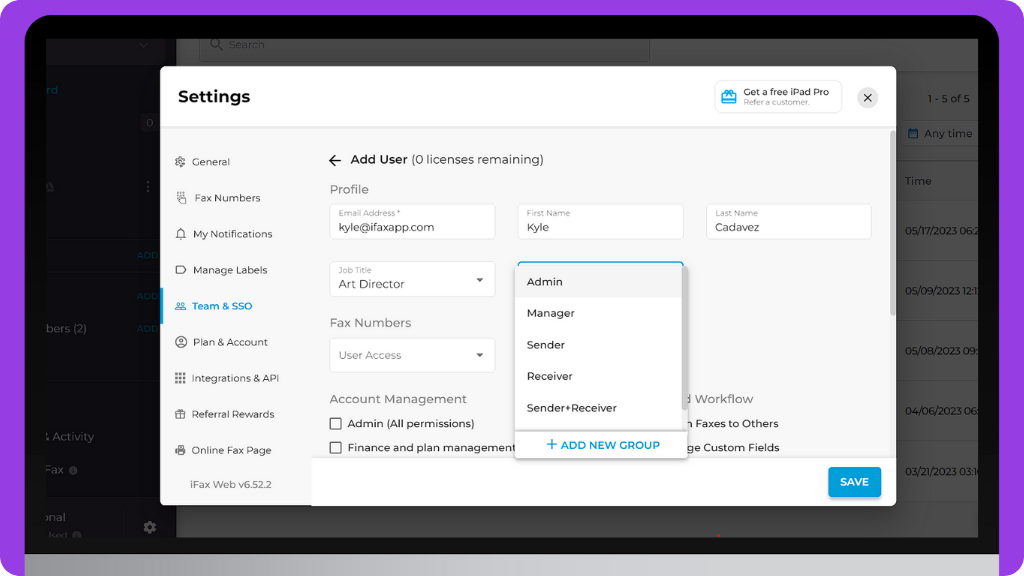
6. Click on Select Group and choose the appropriate option. We’ll discuss this further in the next section.
7. Click Save.
Assigning a default group
Simply click on Select Group and choose from the drop-down list of default groups.
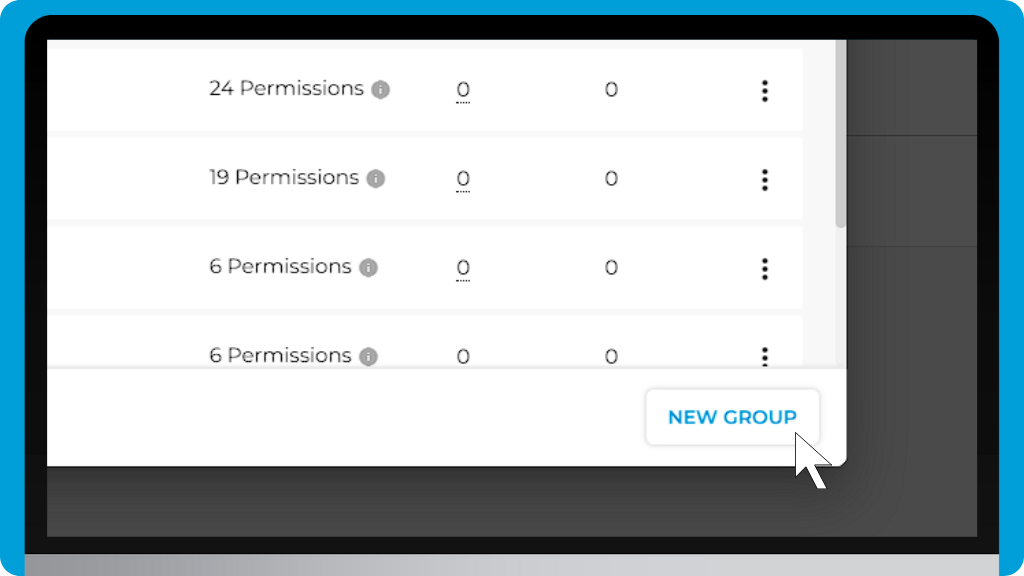
They already contain a fixed number of permissions that are appropriate for the title. On the dashboard, you can see the number of permissions for each default group and the number of users.
- Admin – 22 permissions
- Manager – 17 permissions
- Sender – 4 permissions
- Receiver – 4 permissions
- Sender+Receiver – 4 permissions
Note: These default groups can be further edited to custom fit your requirements.
Creating New Group Permissions
If you think a team member or role requires a custom set of permissions, it’s best to create a new group.
Here’s how to do it:
- Click the New Group button at the bottom right.
2. Type in the new group name in the appropriate field.
3. Tick the boxes for the permissions you want to include under each category (Account Management, Other Features, Inbound Workflow, Outbound).
4. Click Save.
Assigning admin access
An admin has the highest number of permissions and unlimited access to reports and documents. This user has the following privileges and more:
- Finance and plan management
- Add port or change fax numbers
- View faxes sent by other users
- Delete faxes
- Email to fax
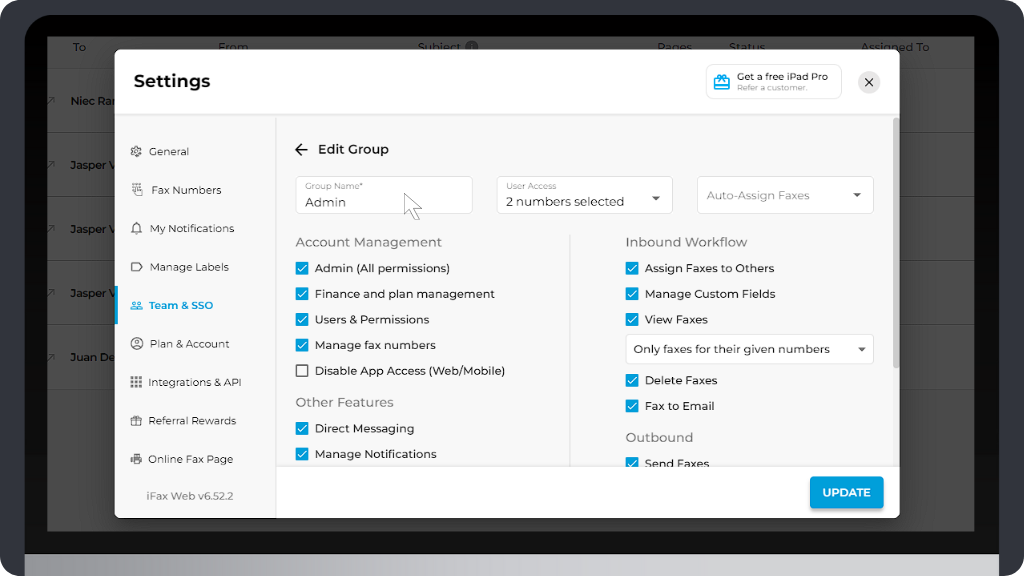
When you click on Admin under the Account Management drop-down menu, the system will automatically tick the other boxes that are appropriate. As you can see, an admin has almost complete access to all features and files.
Note: If you tick the Disable App Access (Web/Mobile) option, the user can restrict access to the iFax web browser or mobile app.